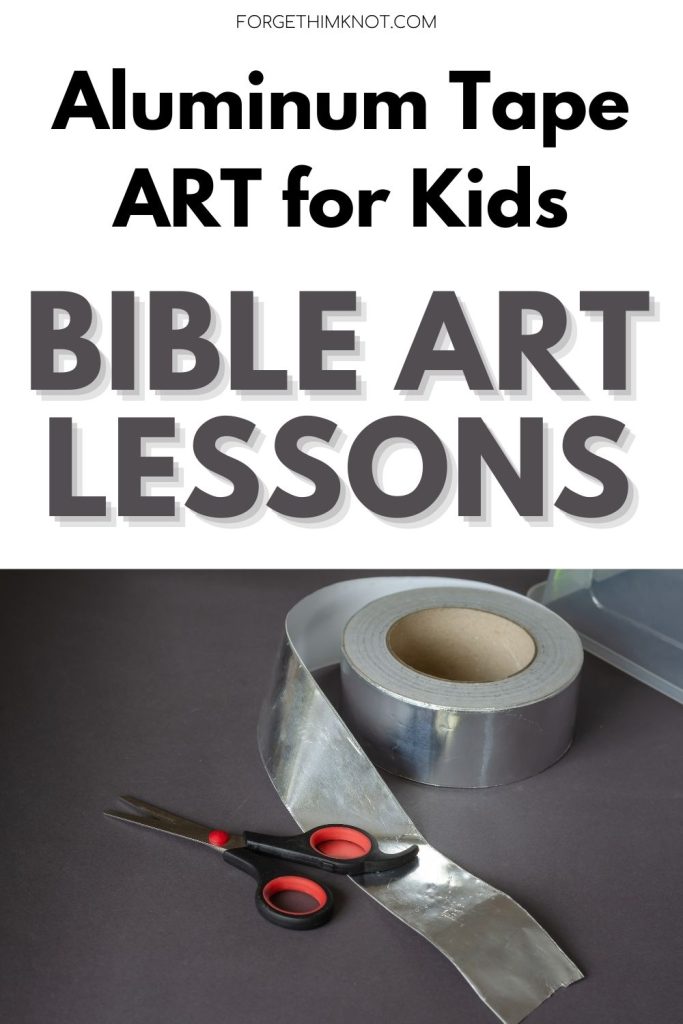
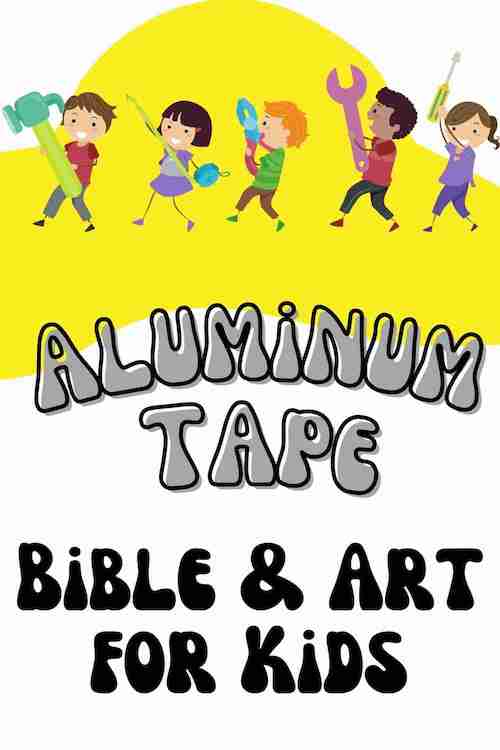
Unleashing Creativity with Aluminum Foil Tape
Aluminum foil tape is a versatile and accessible medium for children’s art projects, providing a unique texture and sheen that can transform simple crafts into eye-catching metal masterpieces.
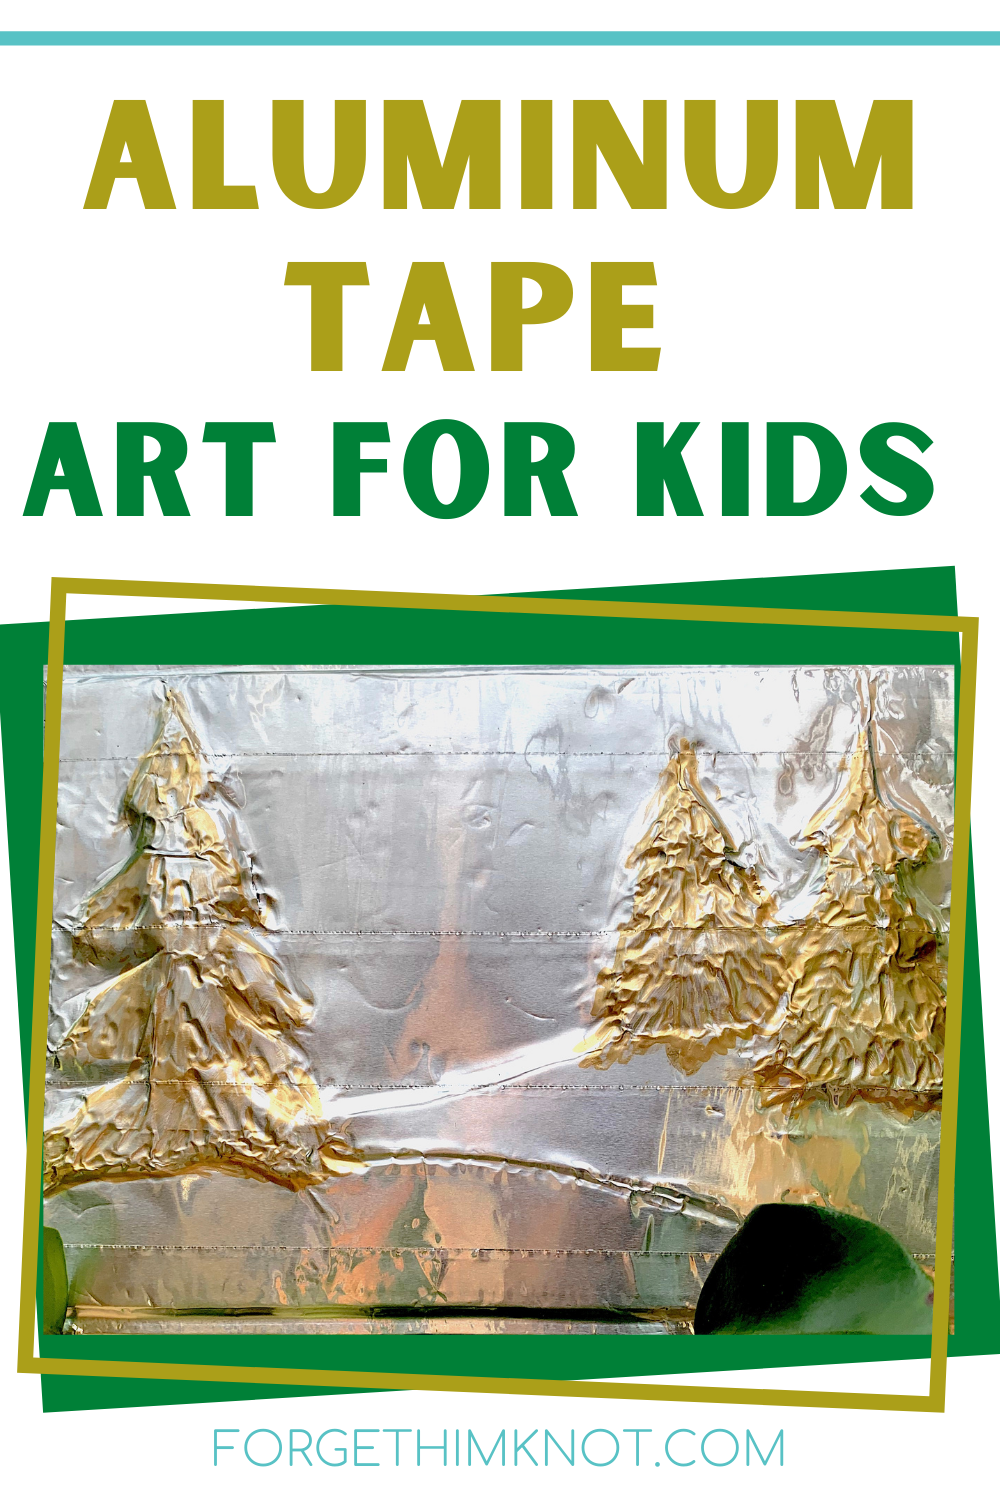
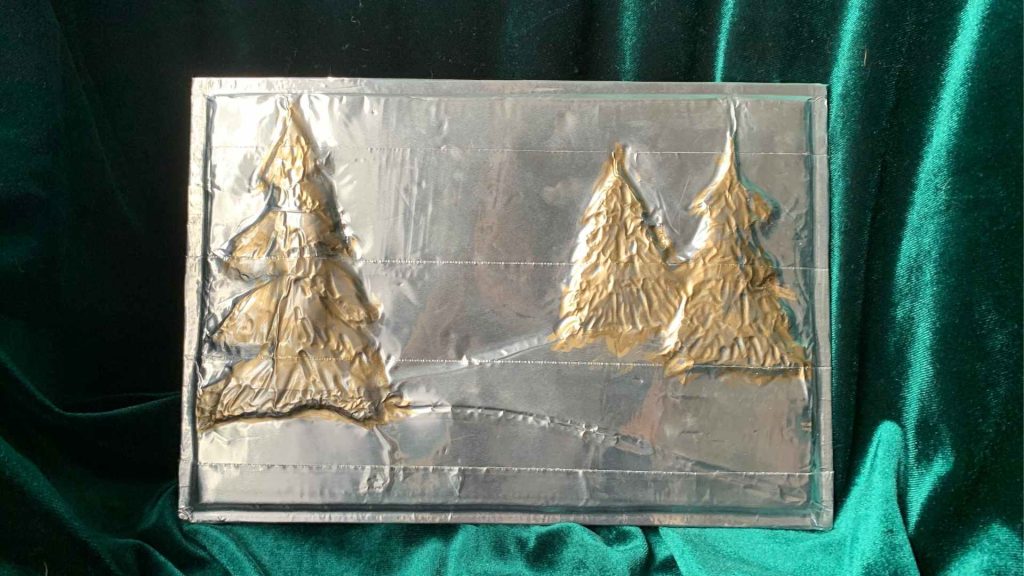
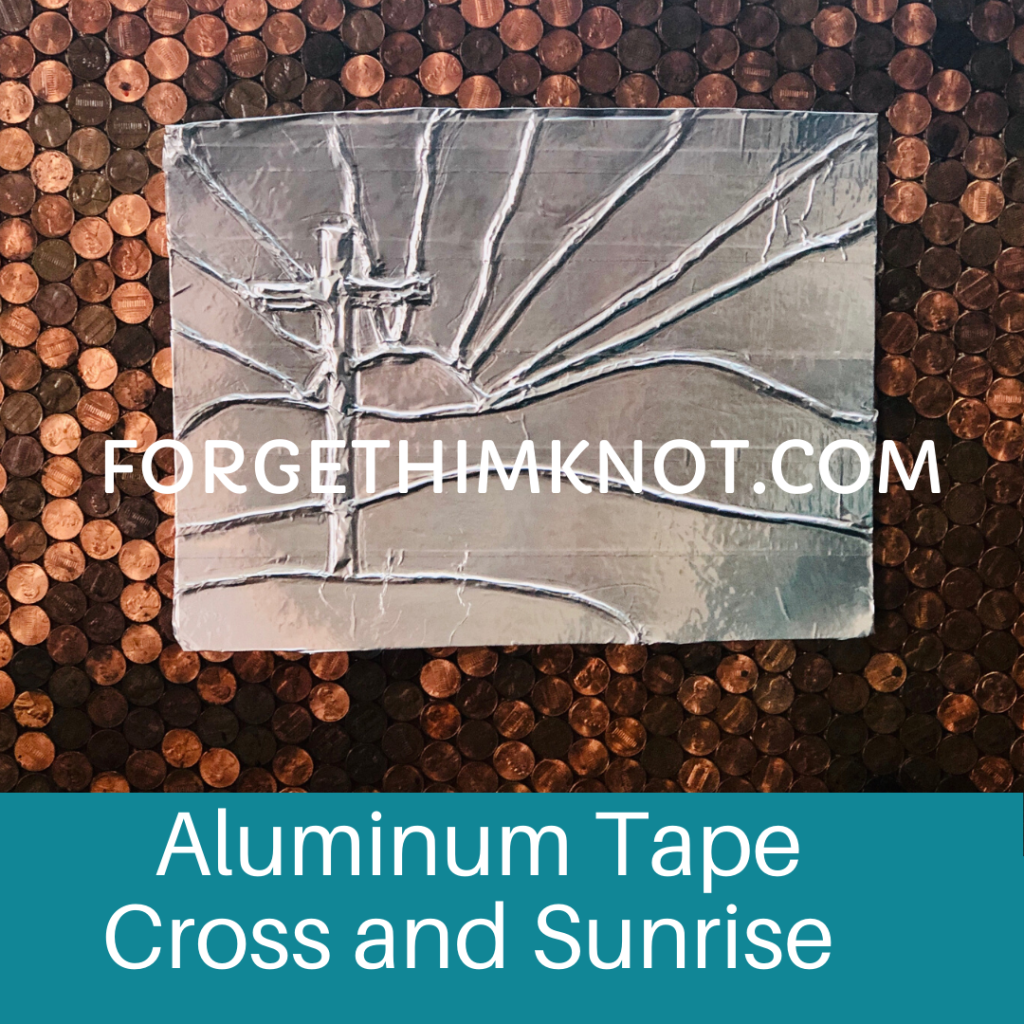
The reflective quality of aluminum foil tape captures light in a way that ordinary paper or paint cannot, making it an exciting material for kids to experiment with. Whether it’s creating shiny robots, shimmering landscapes, or abstract patterns, aluminum foil tape can add a metallic touch that sparks imagination and creativity.
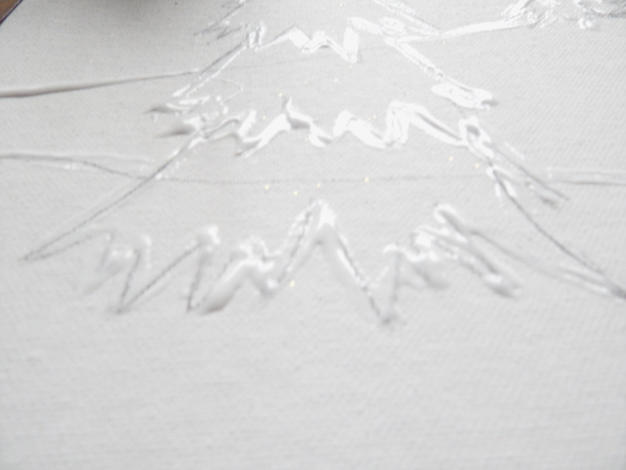
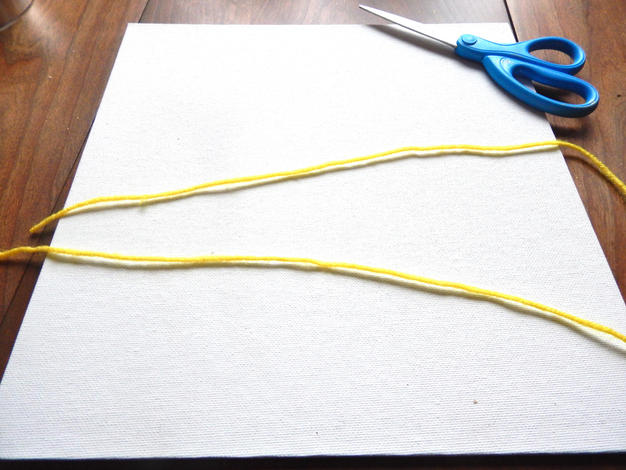
Children can easily cut, shape, and apply the tape, enhancing their fine motor skills and giving them a sense of accomplishment , but you may need to help them removing the wax paper backing or help keeping the adhesive from sticking to things.
The Versatility of Heavy-Duty Aluminum Tape
For projects that require a bit more durability, heavy-duty aluminum tape is an excellent choice. This tape is designed to withstand little kids handling, making it perfect for larger pieces of art.
Kids can use heavy-duty aluminum tape to build sturdy models. Its strong adhesive backing ensures that their artwork will stay intact.
Heavy-duty aluminum tape is also great for mixed media projects, as it can easily adhere to various surfaces such as wood, plastic, and metal, allowing children to explore a wide range of artistic possibilities.
Seasonal Art with Aluminum Tape
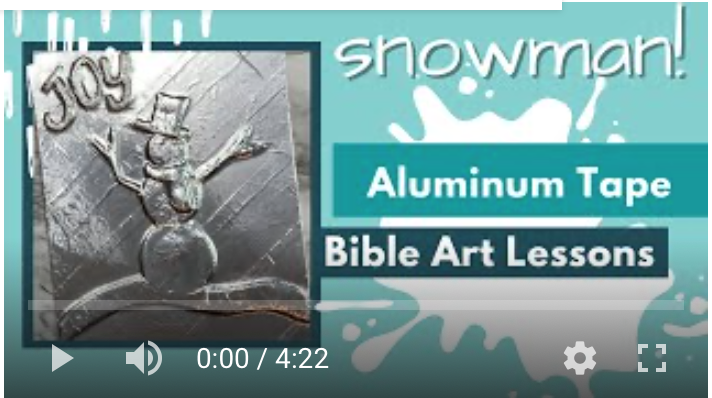
Incorporating aluminum tape into seasonal art projects can help children express their creativity. During the winter months, they can create sparkling snowflakes, snowmen and icy landscapes.
Spring projects might include metallic flowers and shiny butterflies, capturing the blooming season.
In the summer, kids can craft reflective sun catchers and shimmering sea creatures, while autumn can bring about leaves and silvery pumpkins.