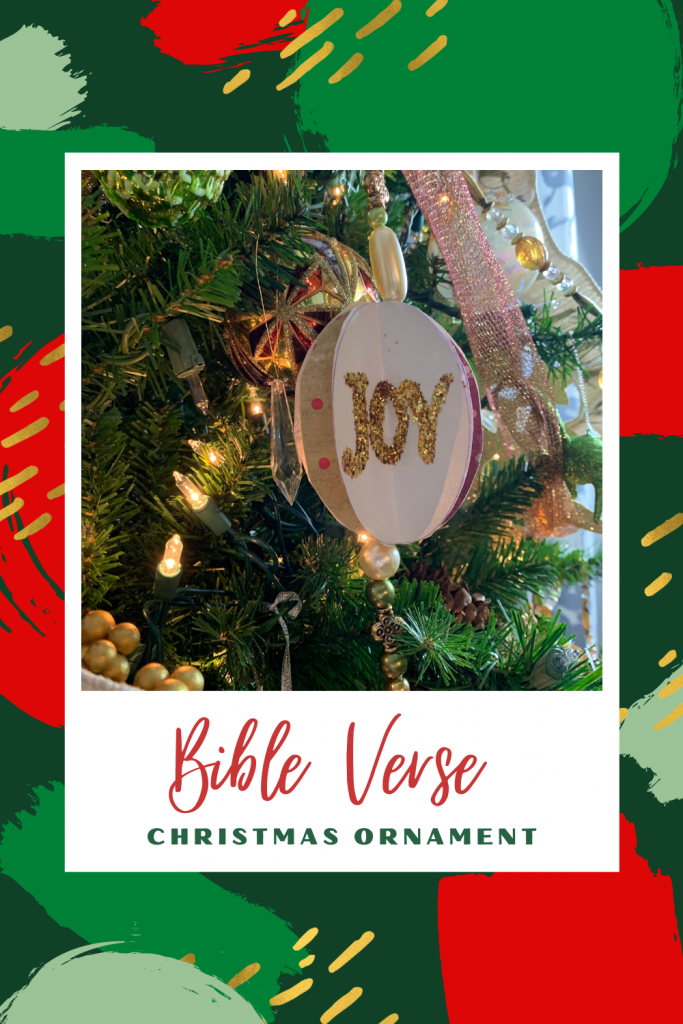
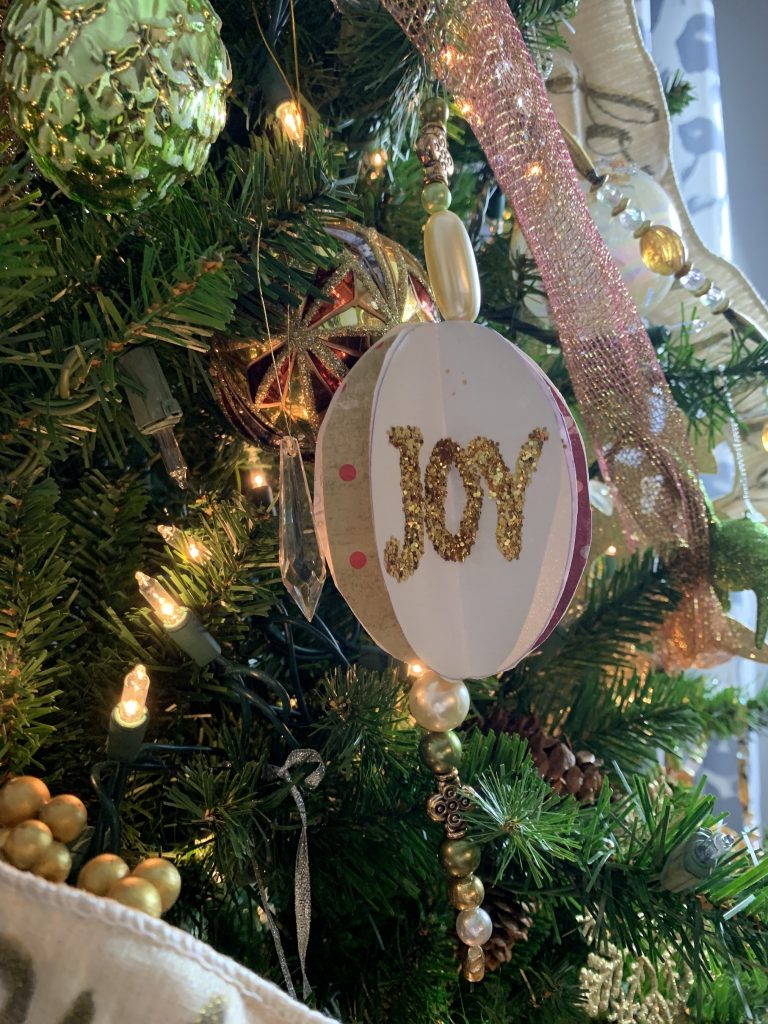
We designed these ornaments to make with the kids! Paper allows everyone to pic their favorite colors, designs and style for their own ornament to hang on the Christmas tree. You can even design your own paper with crayons, markers and water color paint if you’re feeling extra creative!
The template for the ornaments is found in our Freebie Library. The pdf also has our Christmas table decor with napkin wraps and Bible verse table cards.
*affilate links
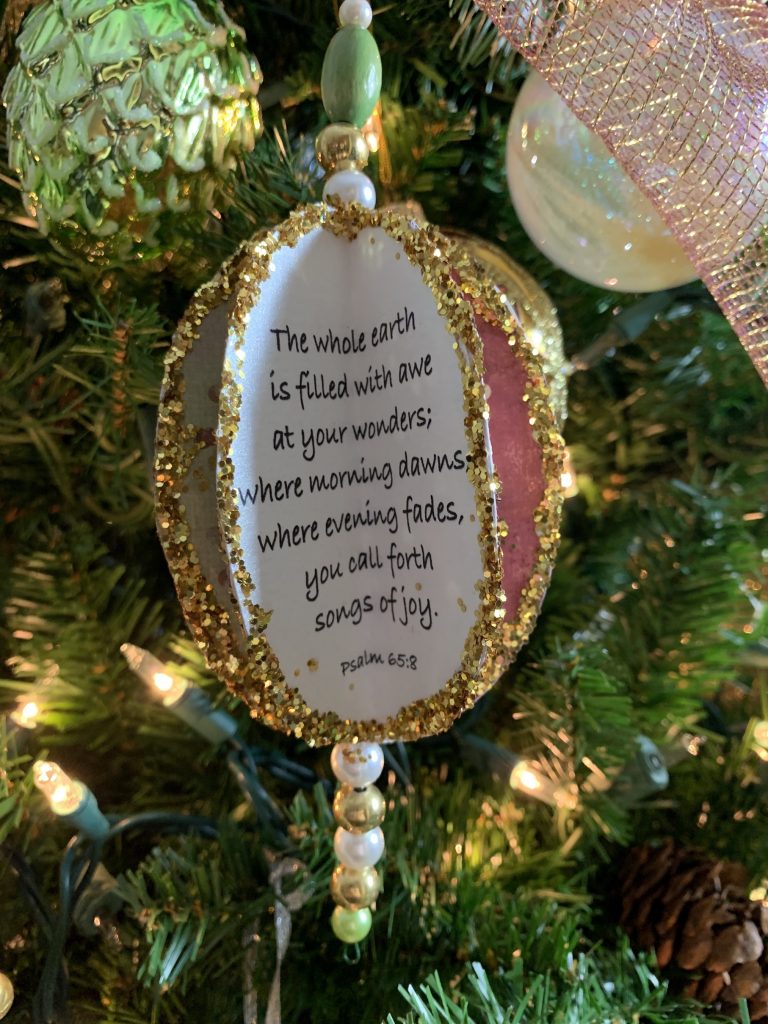
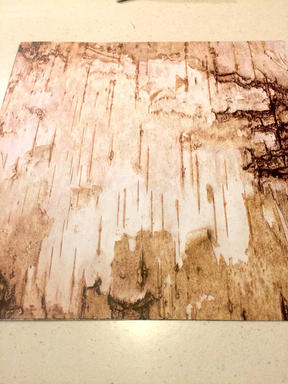
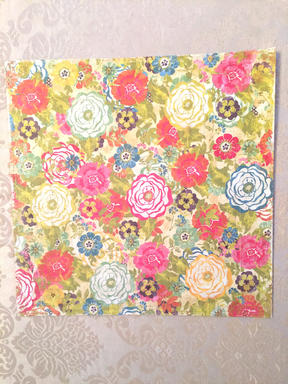
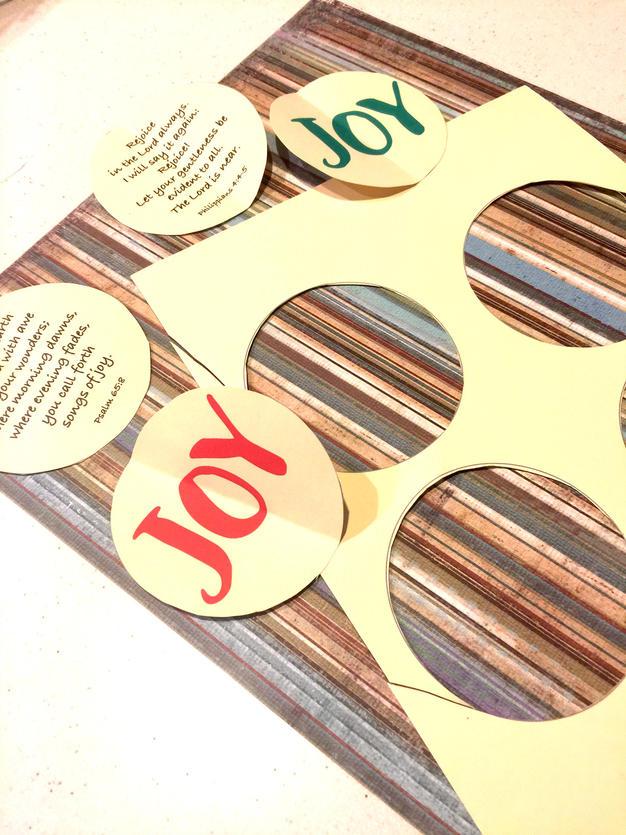
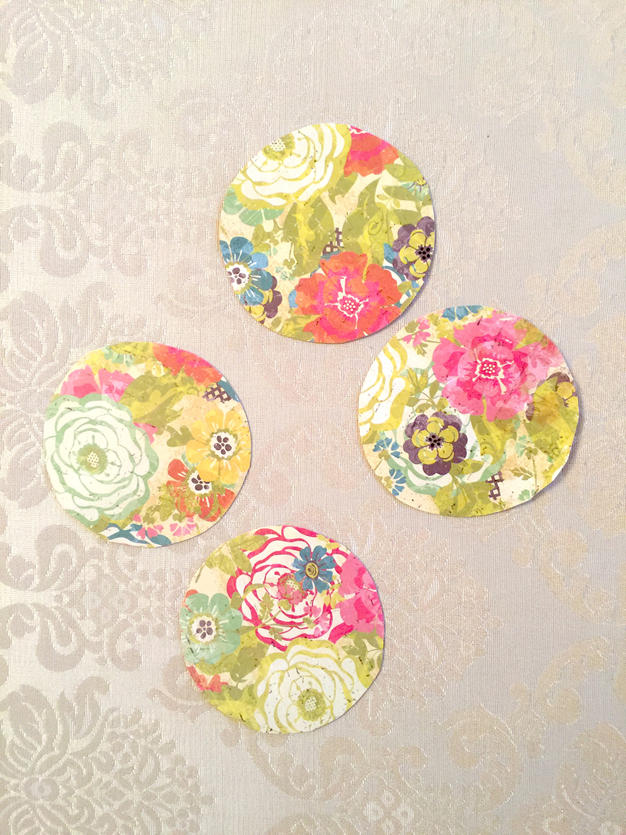
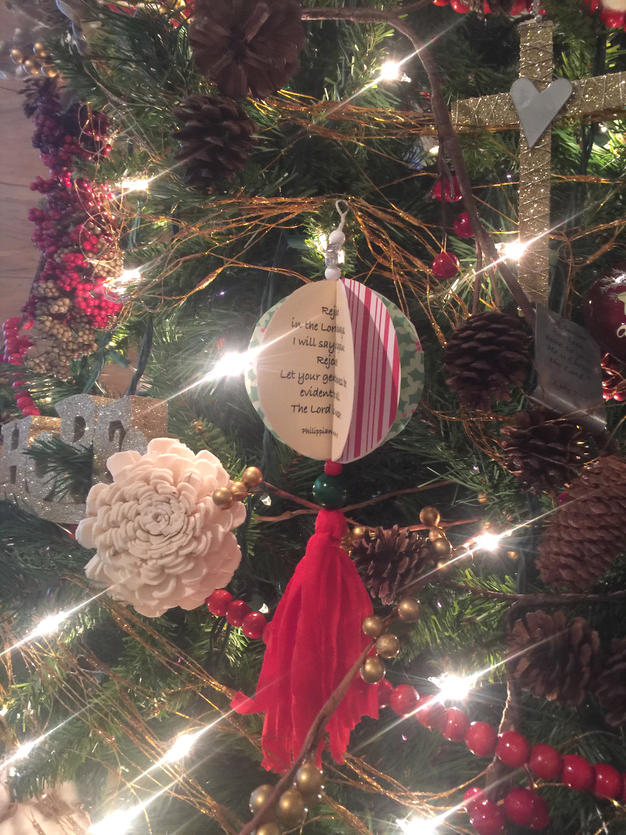
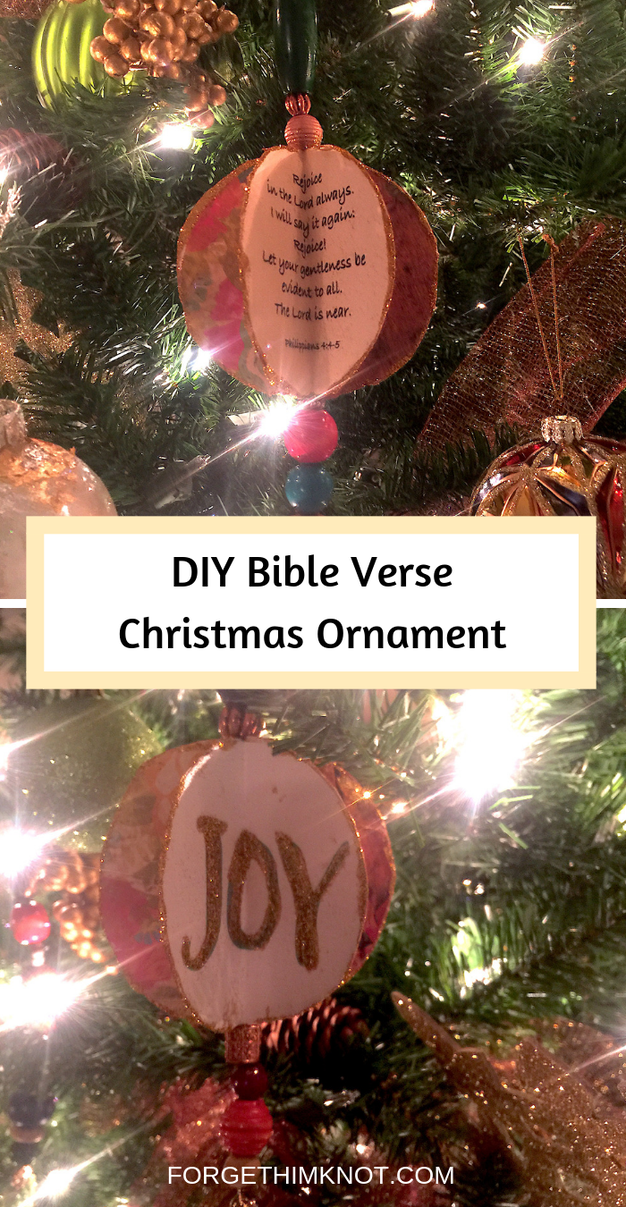
We used scrapbook paper for our ornaments because the paper selections are amazing and inexpensive. We printed the Bible verse and Joy on solid colored papers.
Print
Just print the ornament template circles onto your choice of paper or card stock. You will need for each ornament to be the same size. You’ll need to print the Bible verse circles onto a white or light colored paper so that it will be legible. You can add as many “JOY” sections or Bible verse sections to your ornament as you like. We used one of each in our ornaments.
2. Cut
Cut out one of the JOY curlers and use it to trace more of the same size circles onto various scrapbook paper of your choice. The more circles of paper that you cut out will determine the fullness of your ornament. You will need a minimum of 6 circles. We used nine.
3. Fold
Once you cut your circles, fold them in half vertically. 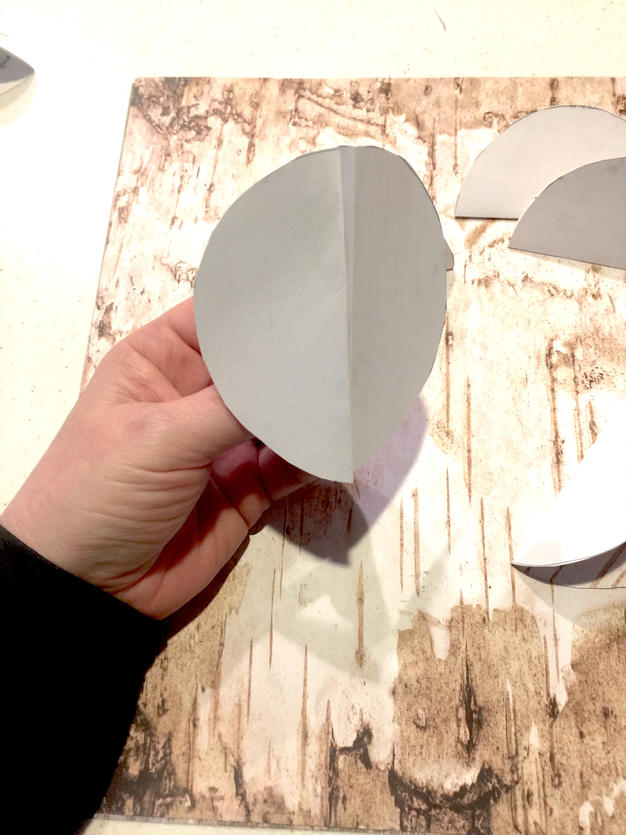
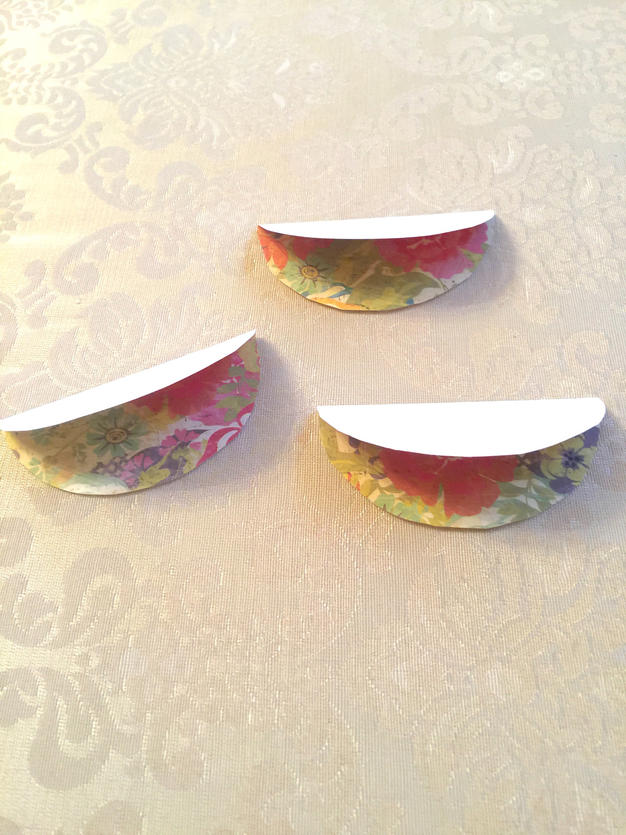
With the folded side facing the same direction, glue two folded circles together. We used several different designs of scrapbook paper and one “Joy” or Bible verse per ornament. We used Elmer’s rubber cement, but you can use double sided tape. White school glue tends to buckle the edges. 
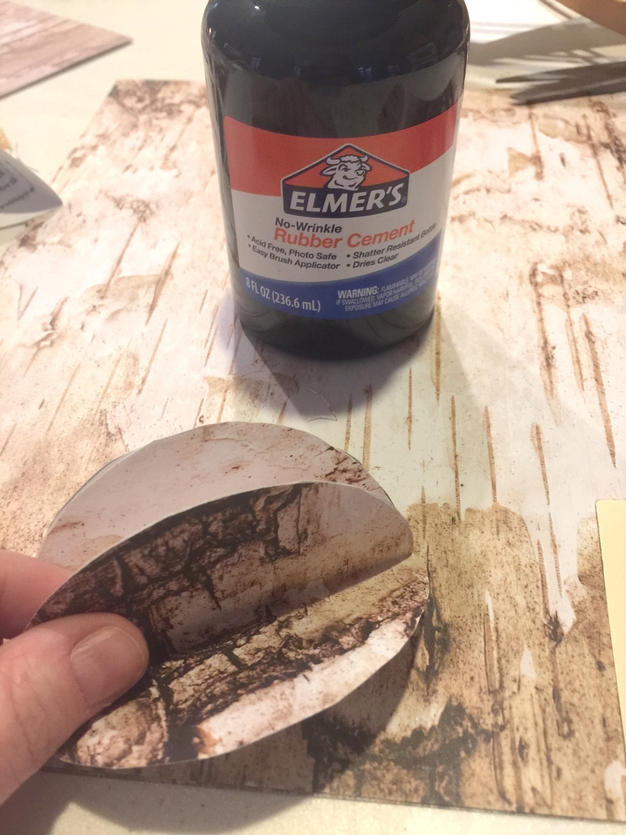
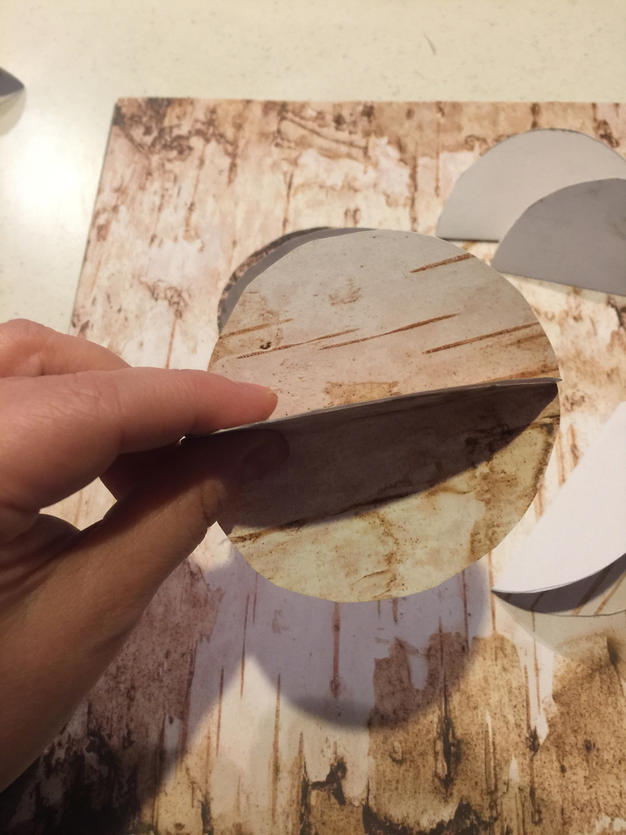
Then continue glueing your folded circles together back to back until the entire ornament is formed. Before you close up your folded circles, wait until the next step!
5. Wire
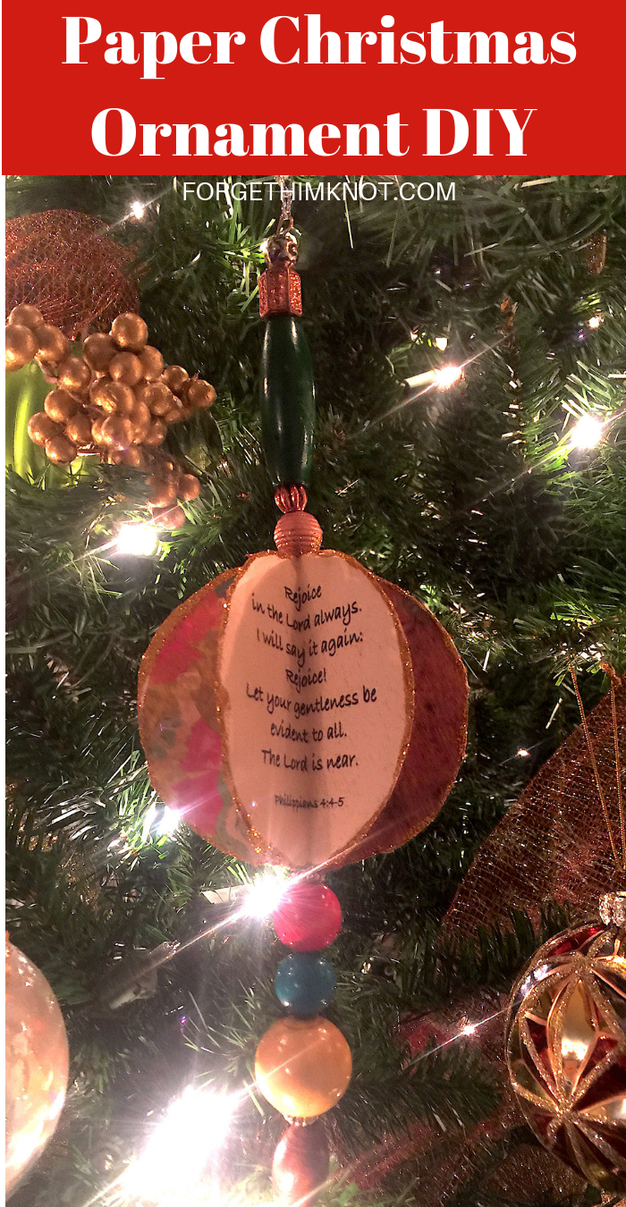
A thin gage wire will allow you to add beads or charms to your design and a way to hang your ornament on the tree. We used floral wire, but you can use a thin gage wire for this too. Make a loop at one end to string your beads and keep them from falling off, then begin adding more beads for the bottom of your ornament. Add glue to the folded area of the circles and the back of the last two pieces that complete the ornament. Place the wire onto the folded area with the glue and close the last two circles.
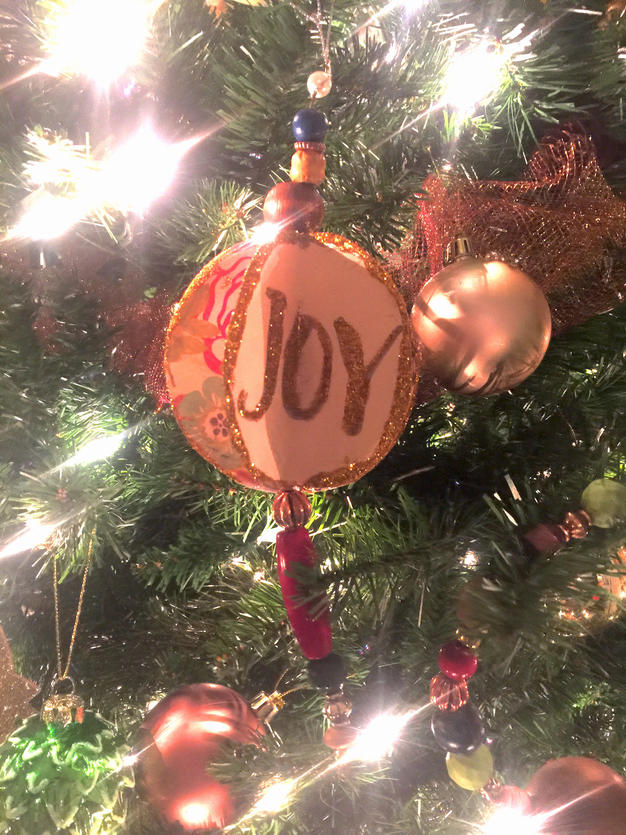
You may have to set the ornament aside for the rubber cement to dry before finishing the top area of beads! Add beads to the top and bottom and then loop your wire to hold them in place. We may have gone a little over board on beads, but that’s us! You do you!
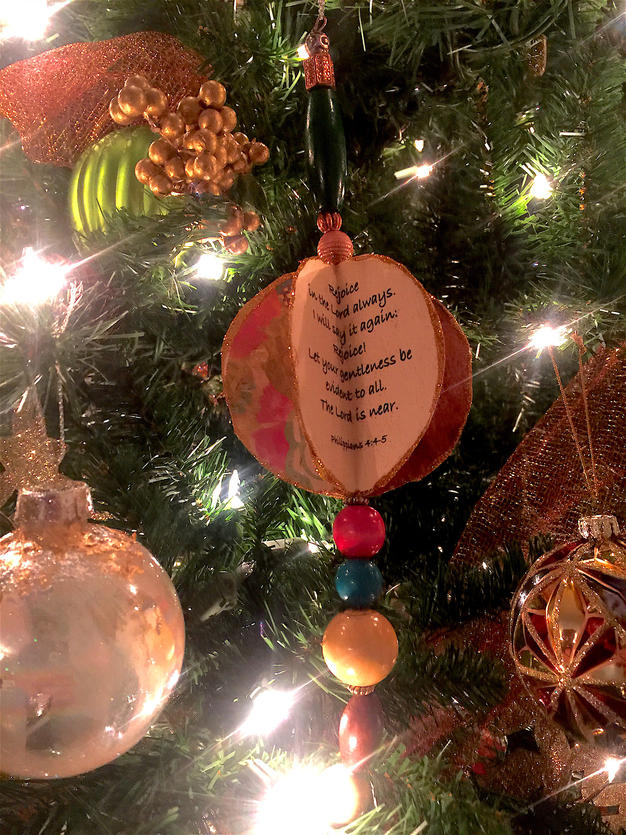
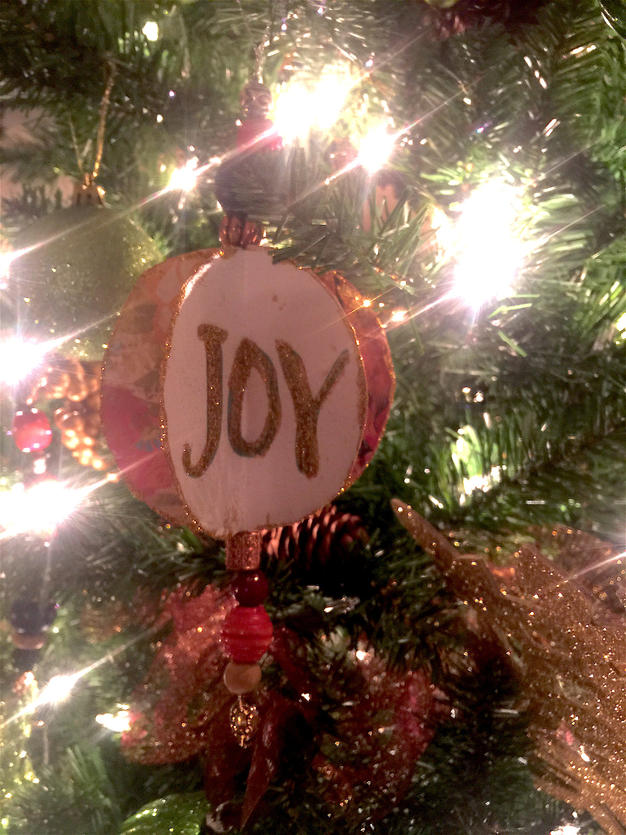
We added gold glitter to the edges of our paper. This hides imperfect edges and adds a little sparkle.
You can add a tassel to the bottom if you like!
That’s it! Your ornament is finished.
forget Him knot!
2018 Christmas Gift List for Kids
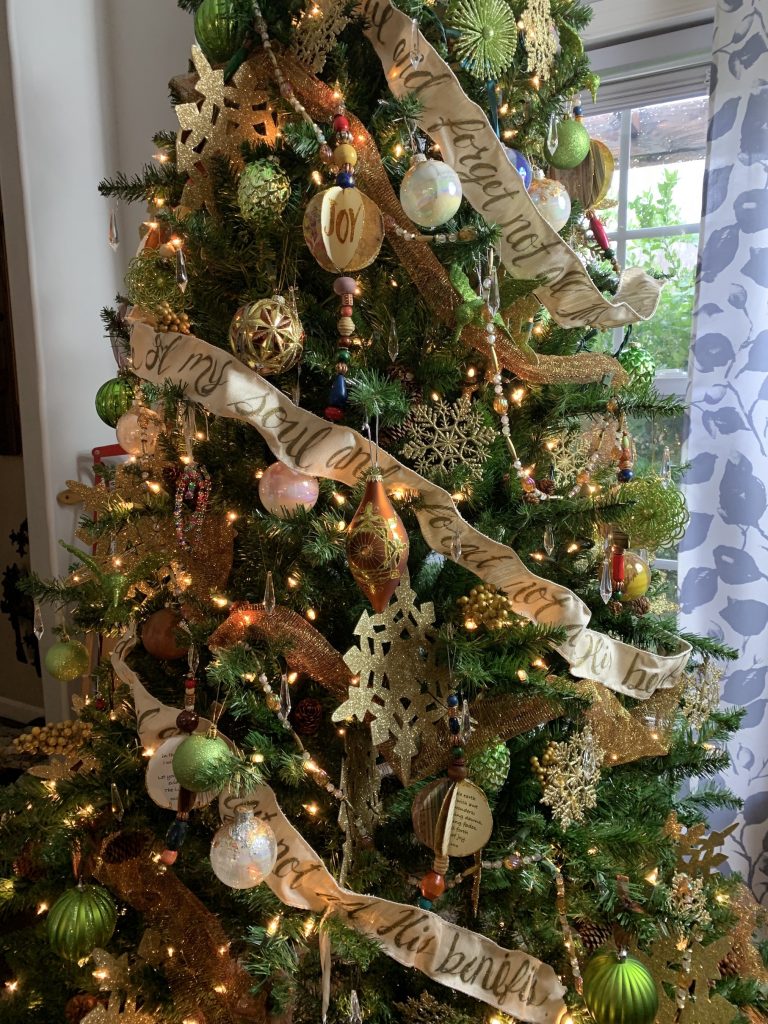
Christmas ribbon diy with Bible verse
Christmas tour