Our laundry room makeover allowed us to have some left over cabinets. Coincidentally, my son and daughter in love needed more storage in their town house.
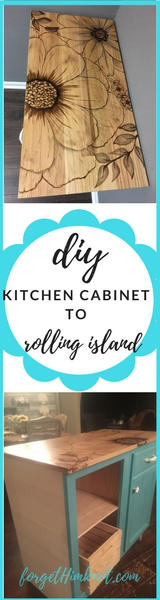
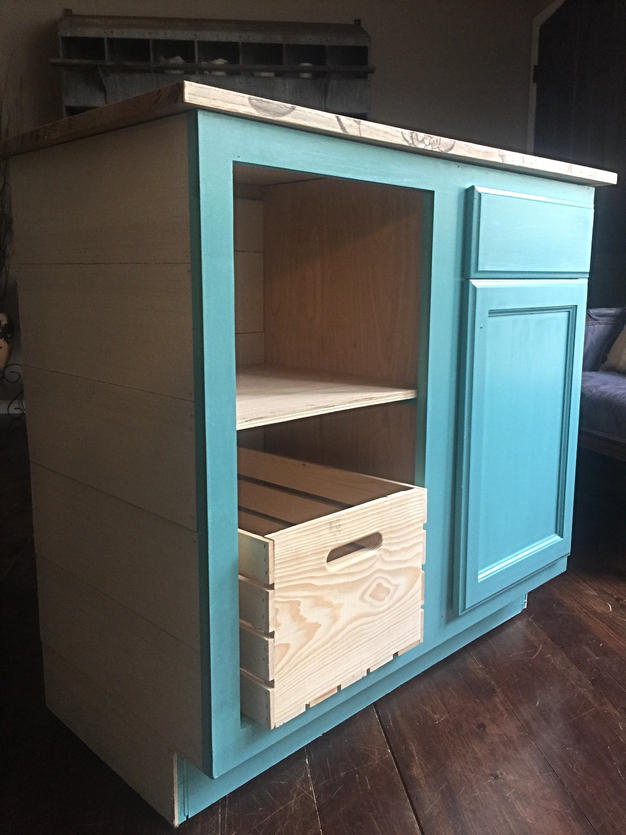
We made a portable rolling kitchen island with storage out of leftover cabinets.
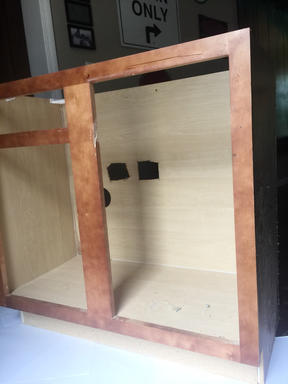
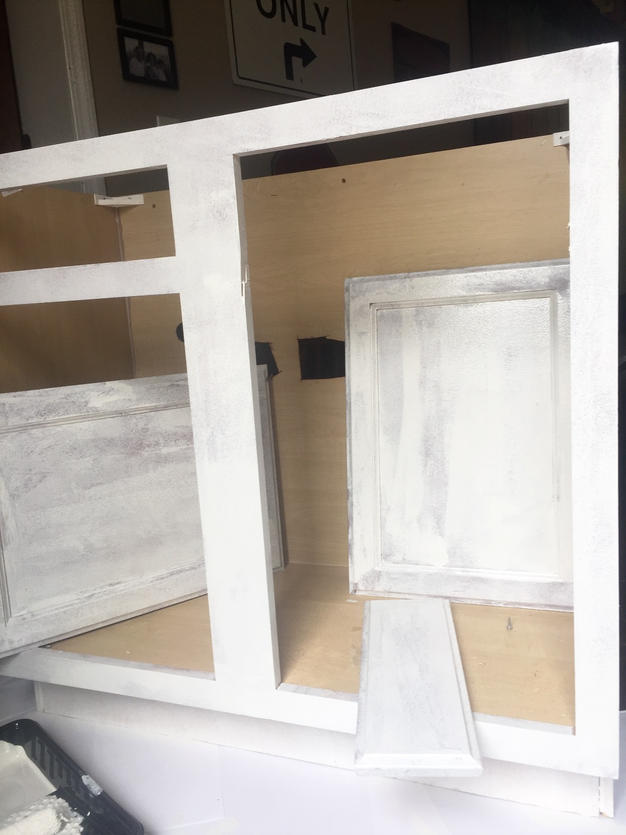
First, on the left side of the cabinet, we removed the doors, cut the drawer brace out and replaced the area with a shelf.
Secondly, for the right side, we removed the drawer brace, dismantled the drawer front and the cabinet door and attached them to a piece of 1/2″ plywood.
Hubby created a hinge for this to allow pulldown opening and closing and a bottom panel to hold the garbage can!
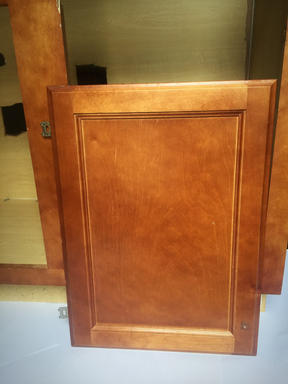
Unfortunately, the cabinets were a reddish wood finish…..completely wrong for their kitchen which had just been painted grey and white.
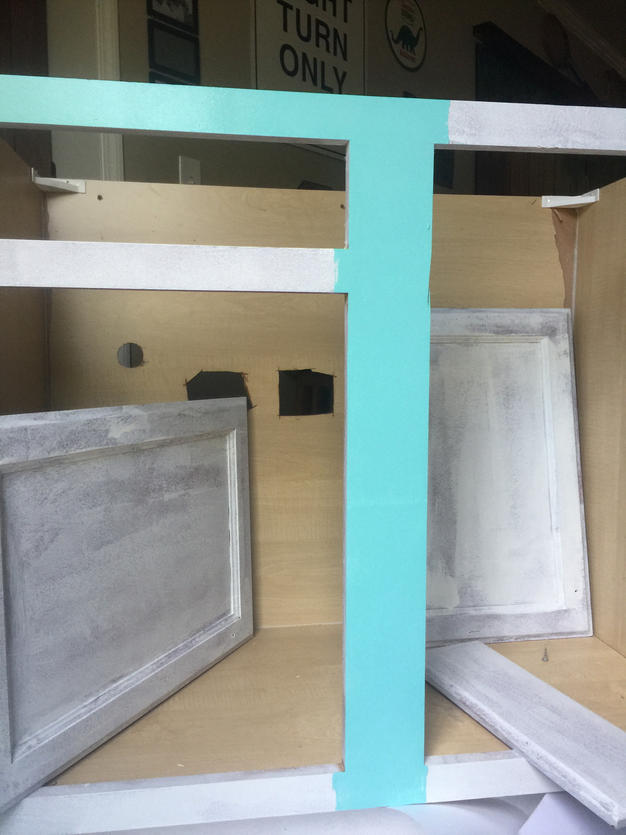
Because she decided on a deep turquoise blue for a pop of color, we needed to lightly sand and then apply a coat of Kilz primer.
.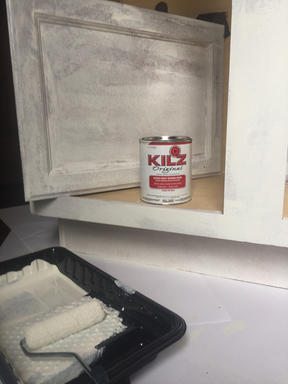
Most noteworthy, if you have never used Kilz primer, make sure you are in a well ventilated area because the smell is strong!
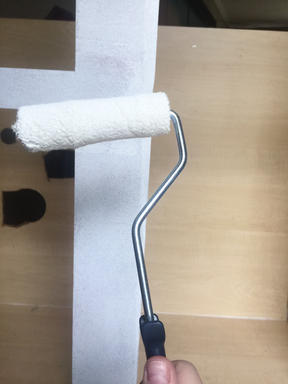
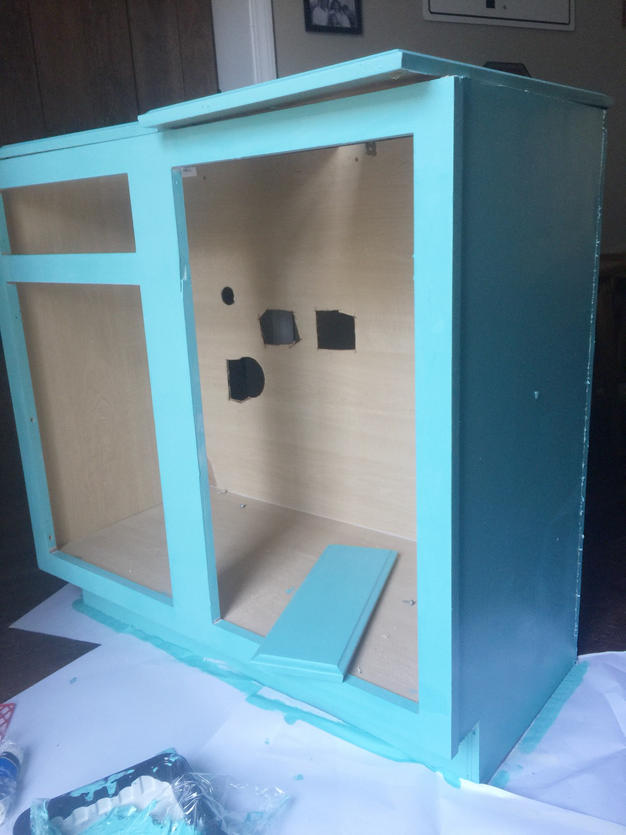
Once the primer is dry, I began the process of painting. I used a small sponge roller and a small paint brush for the areas the roller couldn’t get to. It required two coats of paint.
Full disclosure here…. I’m messy.
I know you can see the former plumbing hole in the back of the cabinet, but we are going to apply shiplap to the inside and back of the cabinet…. so it’ll be covered!
A removable wood crate can hold potatoes or onions or anything else they would like to store.
Ways to create a rolling kitchen island
The shiplap we painted a country white!
We cut strips from 1/4″ luan from Lowe’s iabout 6″ wide and nailed them to the cabinet.
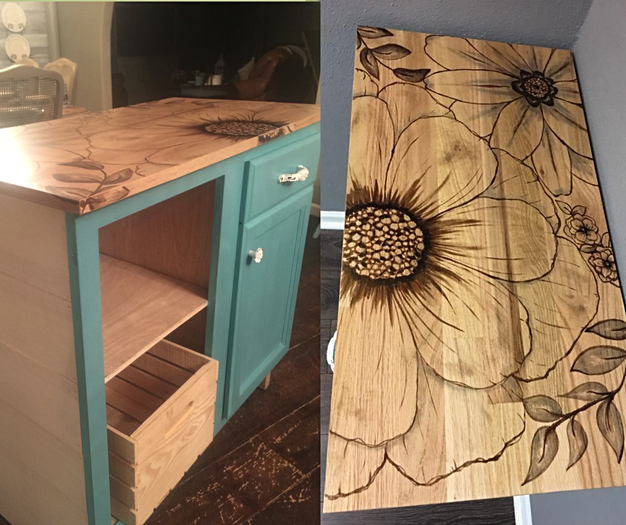
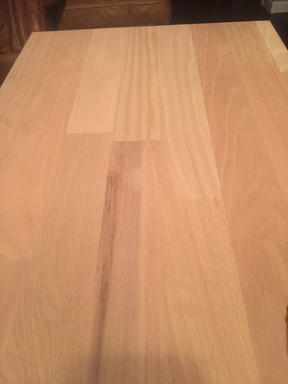
The top of the island is a block of wood, that resembles butcher block. You can find this in the areas where shelving and table tops are at Lowe’s.
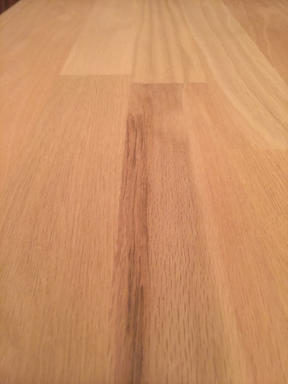
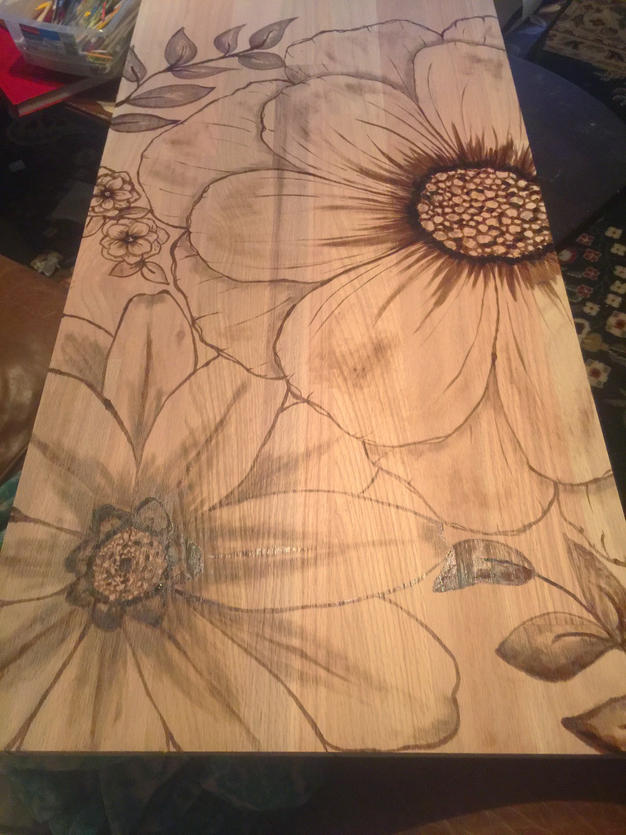
I gave the wood top a light sanding and then….drew flowers with wood stain!!!
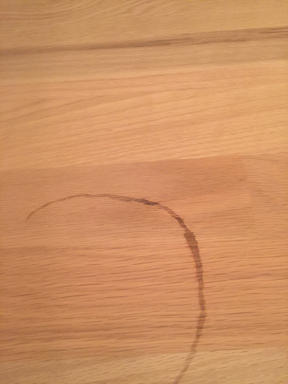
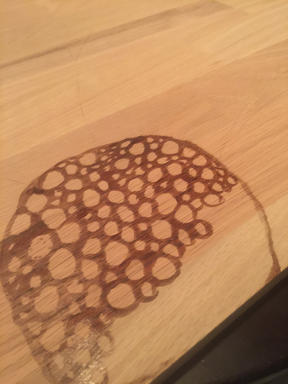
This was a new process for me and took a few minutes to adjust to the bleeding of the stain.
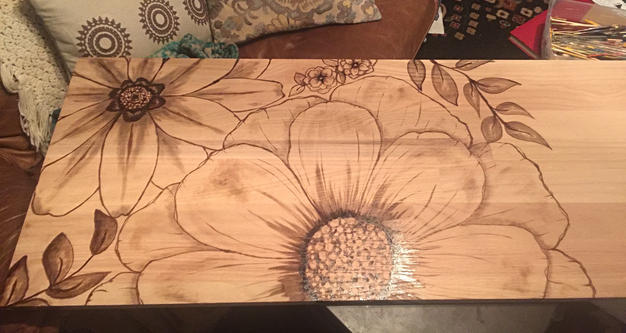
Two different colors of stain were used.
One a dark walnut and the other was grey weathered wood.
The top was sealed with 3 coats of polyurethane and lightly sanding in between each coat!
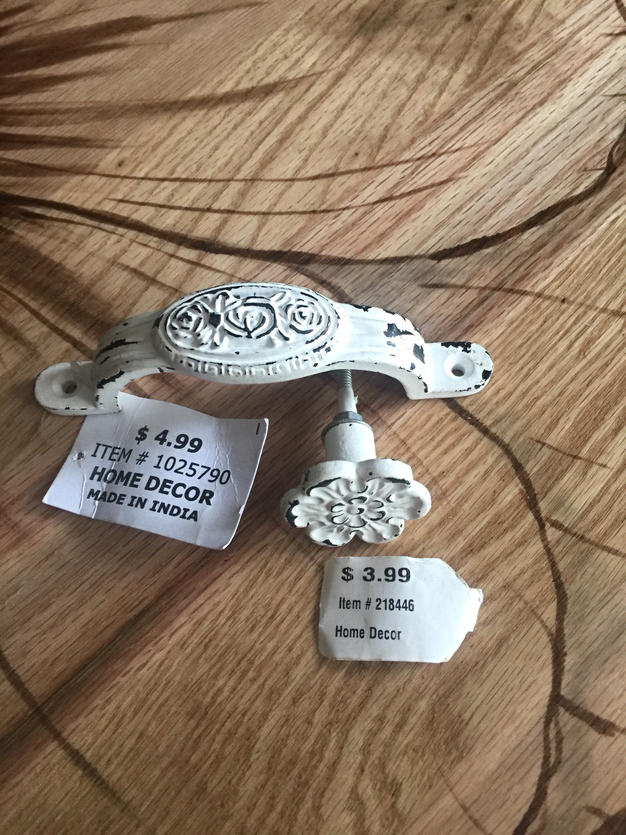
Drawer knobs and pulls are from Hobby Lobby of course!
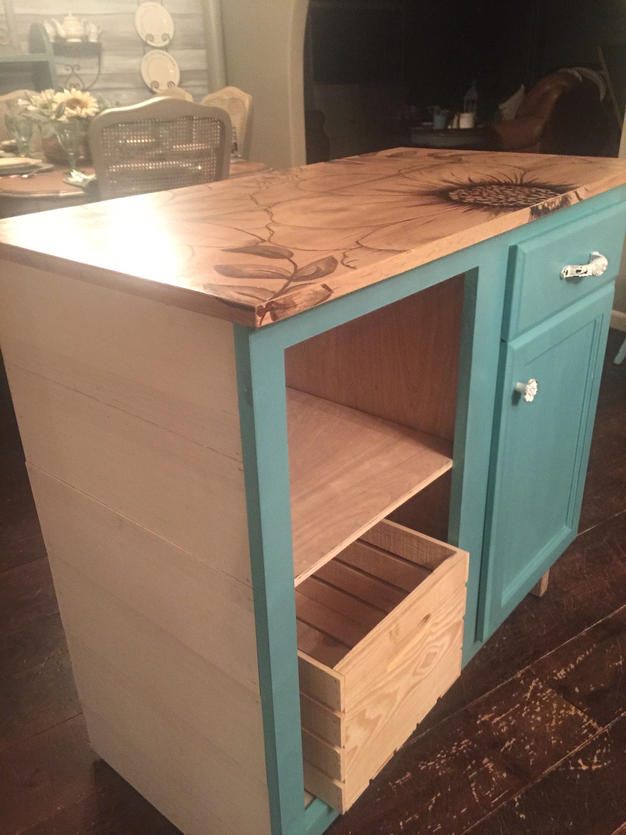
We added caster wheels to the bottom of the island. But after rolling it, we realized it could tip over without something to counter the weight in the kick plate area.
For this reason, we added two wood legs from 1×1 wood pieces.
Ignore the dog scratched floors! Those will be sanded and stained soon!
There’s always always always a project!
The finished product is a fun rolling island and storage piece!
It will be even better when we find another garbage can to fit the storage area…… since we failed on the correct measurements of their current garbage can!
Oh well, at least it’s pretty!
forget Him knot!
More wood stain marker projects: