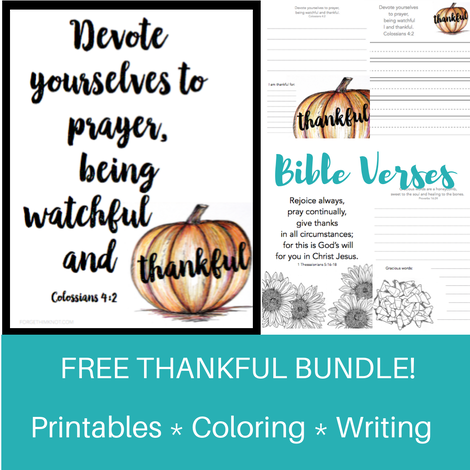
We are always looking for ways to display God’s Word anywhere we can and your Thanksgiving table is a great place to begin!
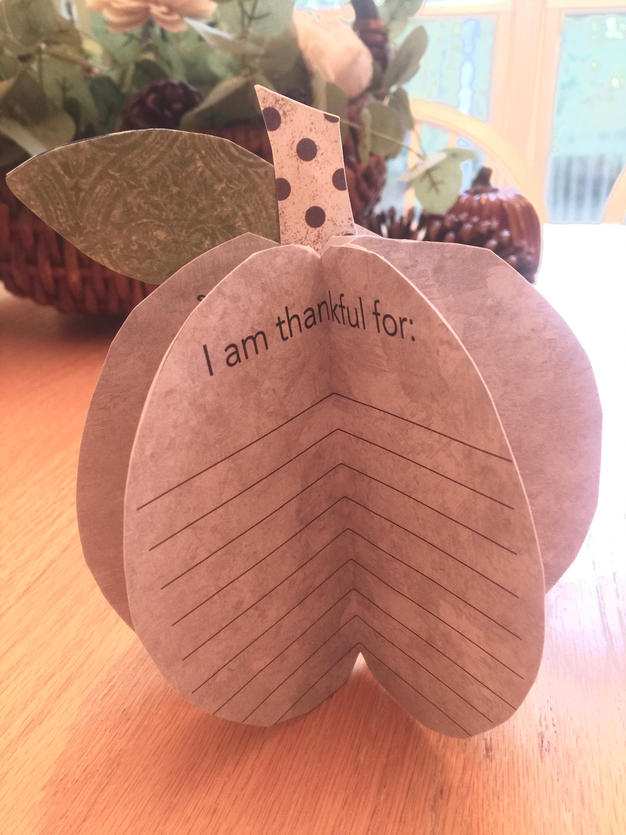
Our 3-D Thankful Paper Pumpkin craft is great to get the kids involved and a fun way to personalize their own pumpkins
Being thankful is not just one day of the year. We can display thankfulness year round.
Finding creative ways to put Scripture in our homes and at events becomes a challenge when we are on a limited budget. That’s why it’s important to us to make projects inexpensive and especially simple for the family to work on together.
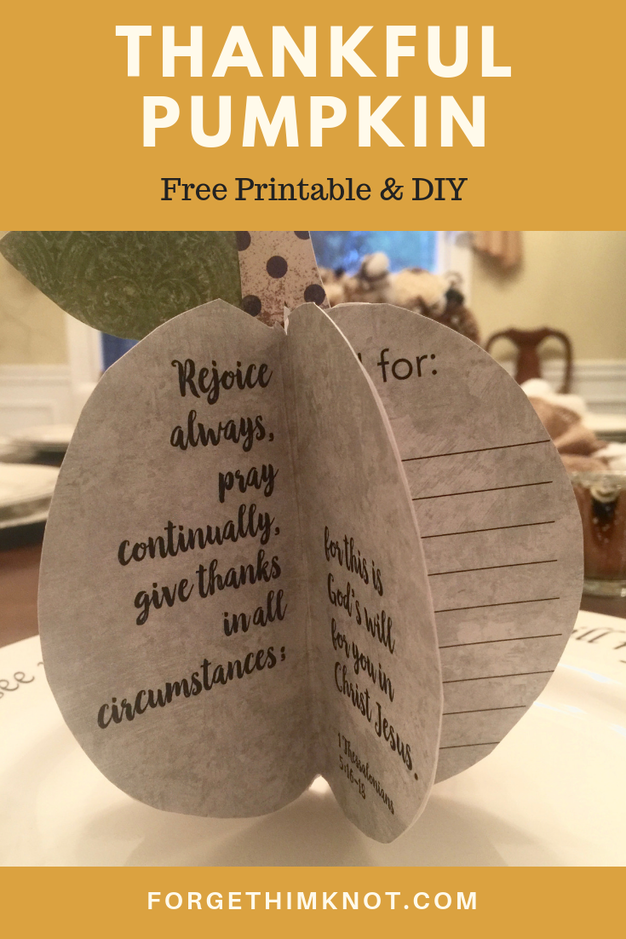
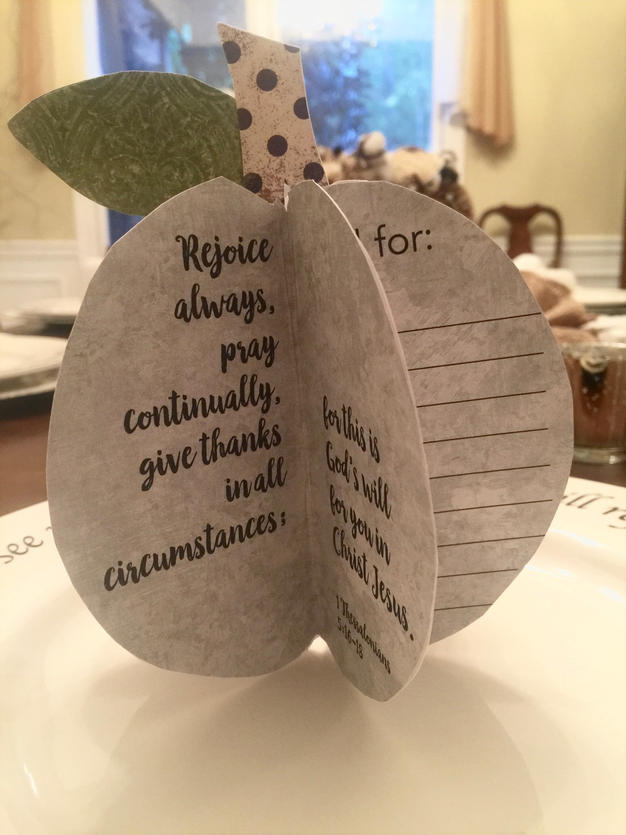
We were inspired by His Sugar Plum’s 3-D pumpkin to design a “thankful” pumpkin printable.

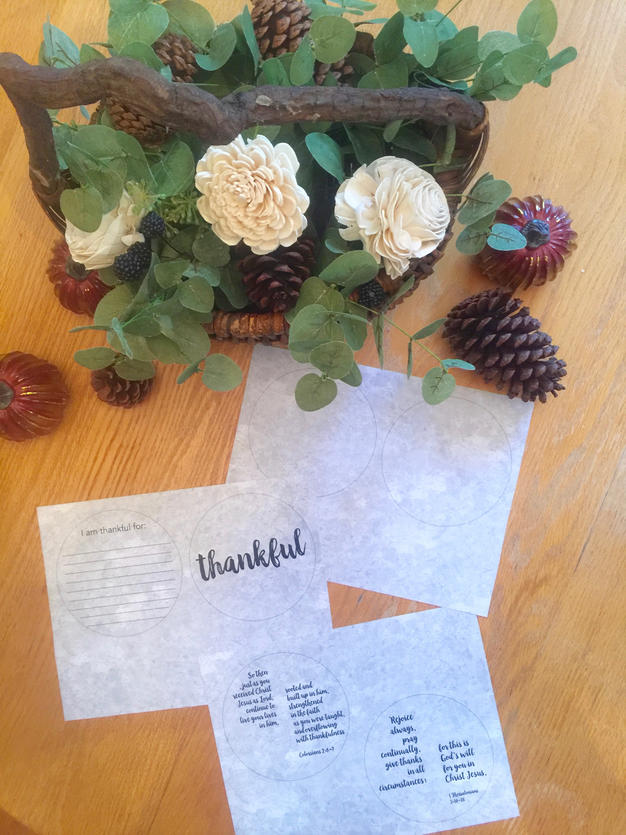
Print the template
Once you download the printables, print them on any paper or card stock of your choice. This is the hardest part of the project!
A light and pretty orange and gold pattern scrapbook paper, brown paper or even white card stock will make a fun pumpkin for the kids to design!
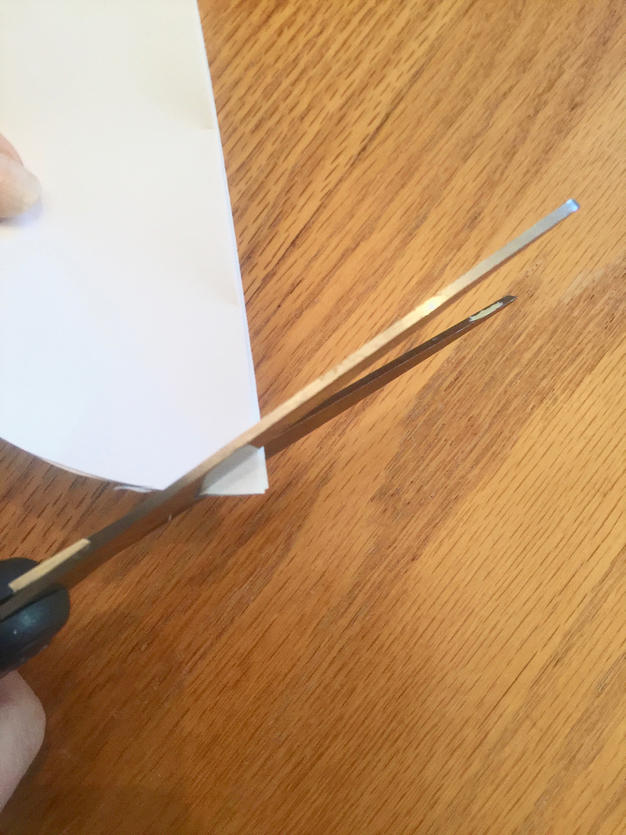
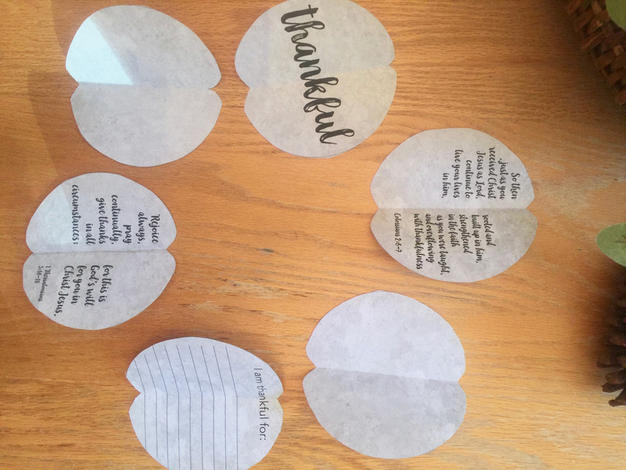
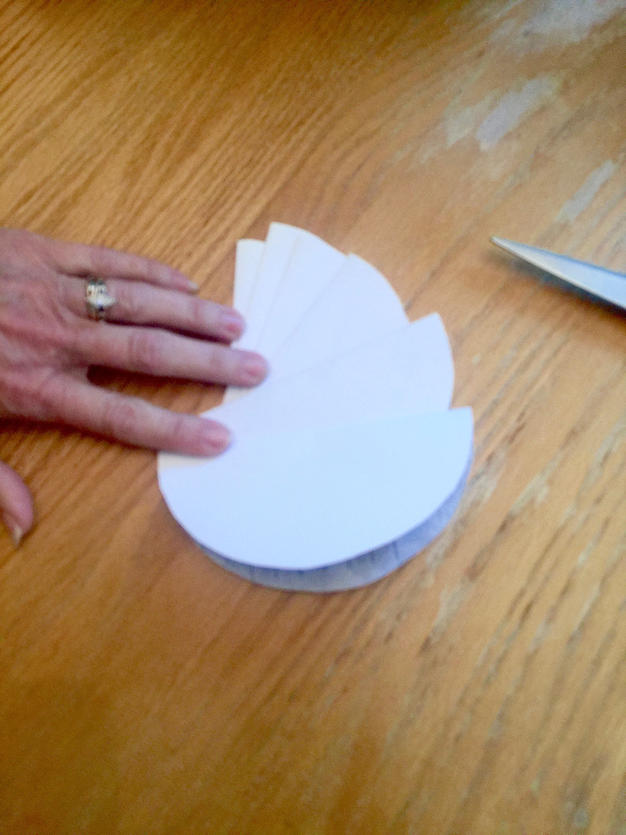
∙Cut out the circles.
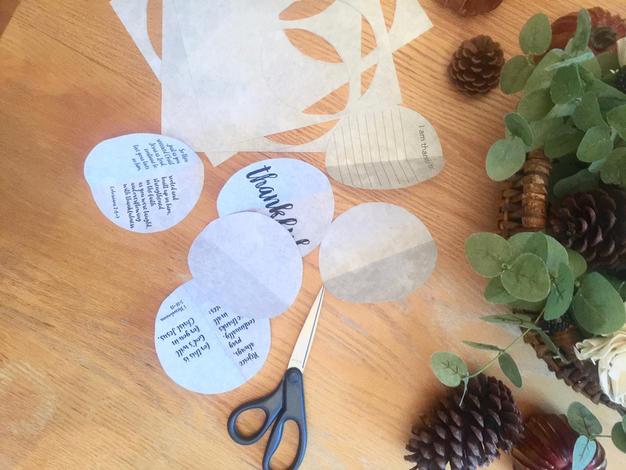
∙Fold the circles
With the words facing inward in the center, make sure the wording is folded evenly down the center.
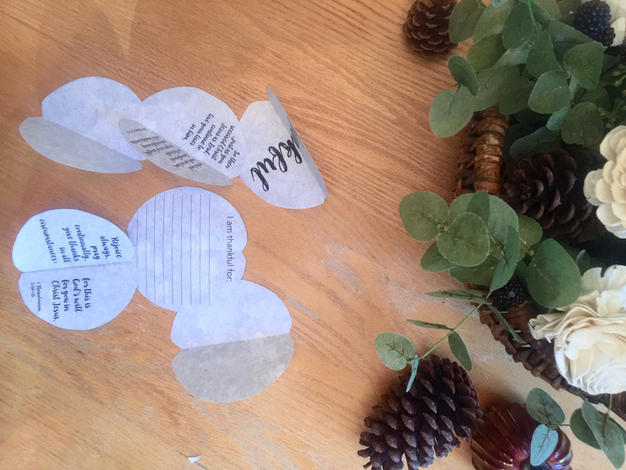
The inspiration pumpkin was cut straight across on the bottom to help it stand in the end. You can do that too or cut the corners off of the top and bottom of the pumpkin with a slight curve.
If you have ever cut the shape of a heart out of a piece of folded paper, this is very similar.
Assemble
When assembled, we wanted the blank circles opposite one another, the verses across from each other and so on. To do this, we placed them in a circle to make it easier!
∙Glue
Glue the back of one circle’s side to the back of another one.
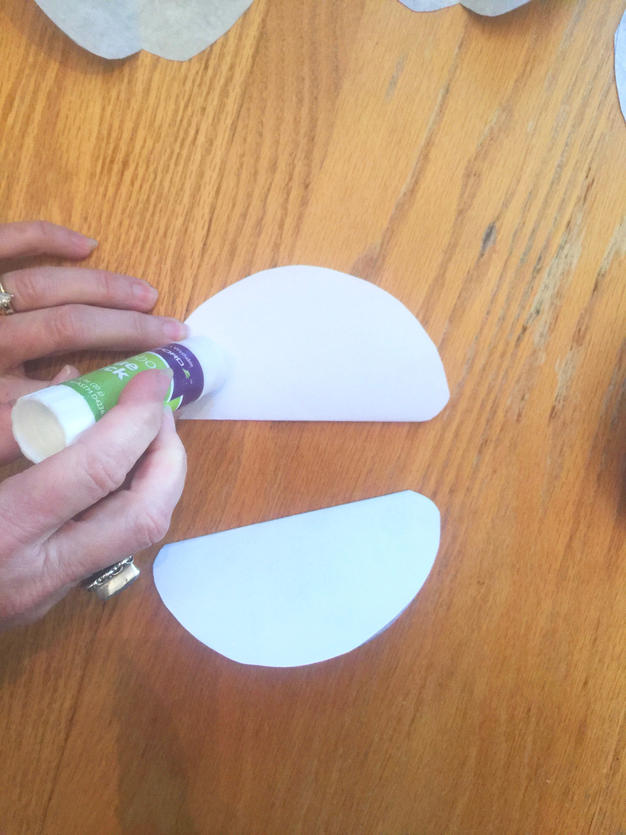
∙ Add dd until you have assembled all of your circles.
Close the last sides together forming your pumpkin.
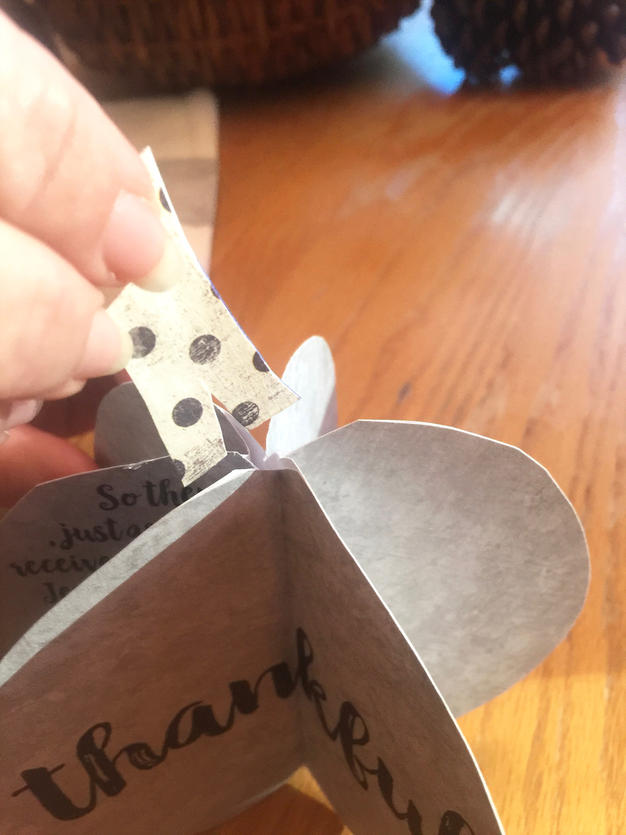
Now you need to add a stem and leaf to your pumpkin.
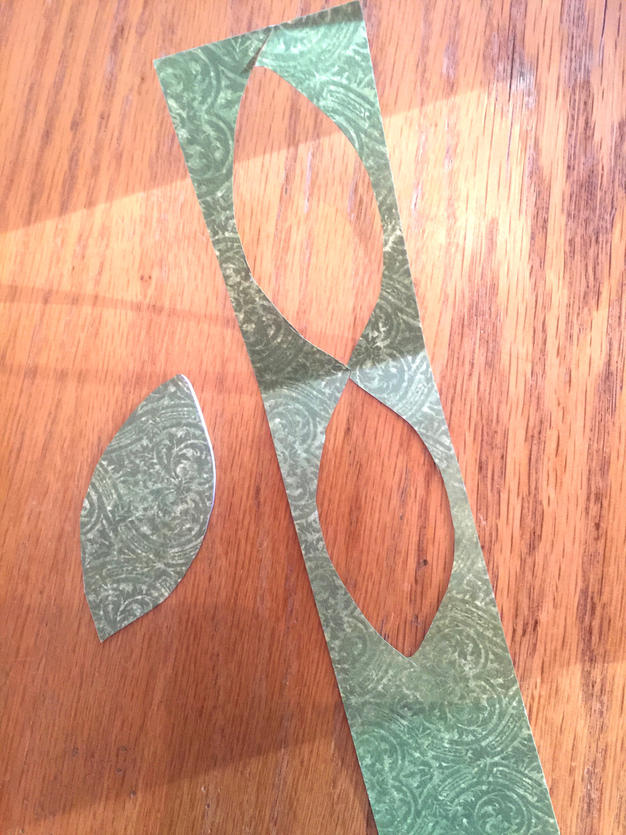
We folded a piece of green scrapbook paper in half and drew a leaf shape. When you cut out the shape, you’ll get 2 leaf shapes to glue together. This gives your leaf a finished front and back!
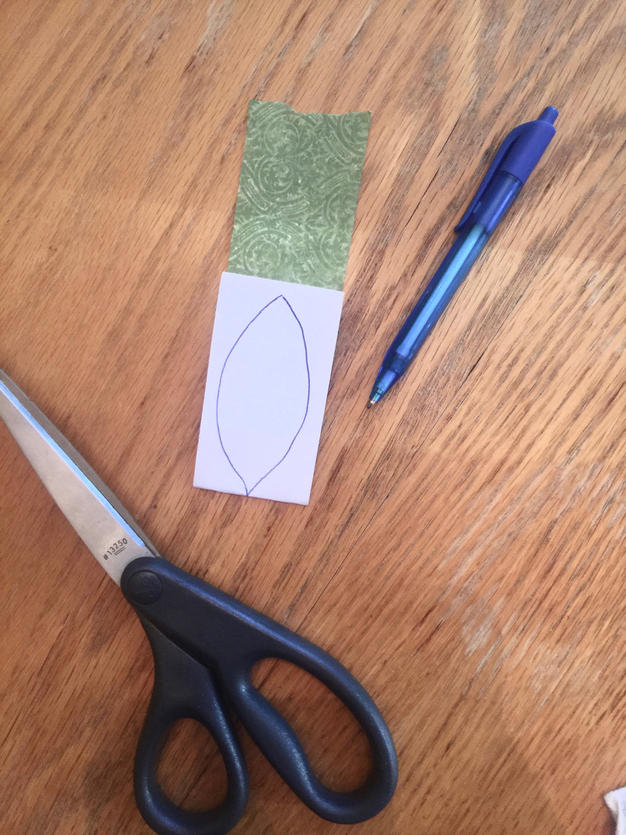
∙Do the same with a stem shape in the paper of your choice.
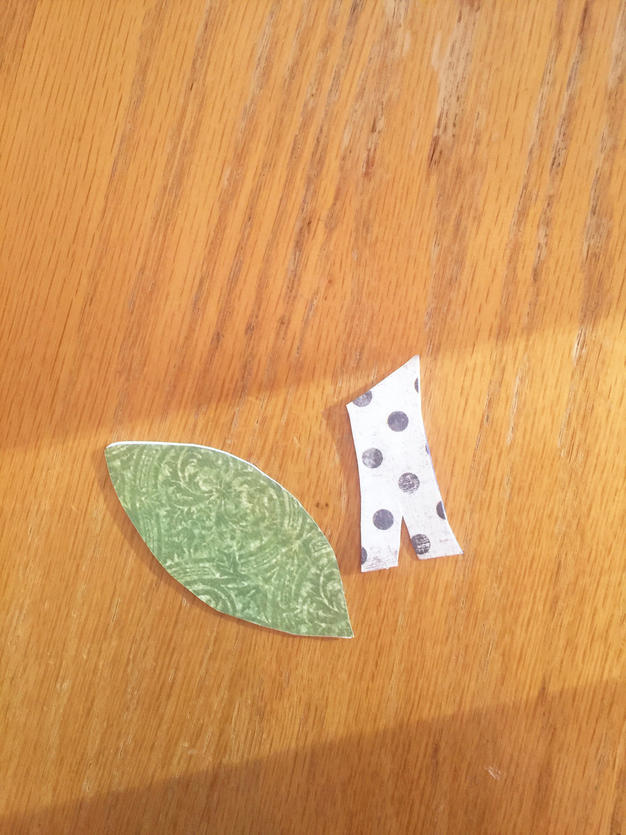
We cut a “V” shape out of the bottom of our stem. This allows the stem to straddle and sit on top of the pumpkin with a little bit of glue. You can attach the leaf with glue or poke a hole and tie it with twine to your stem.
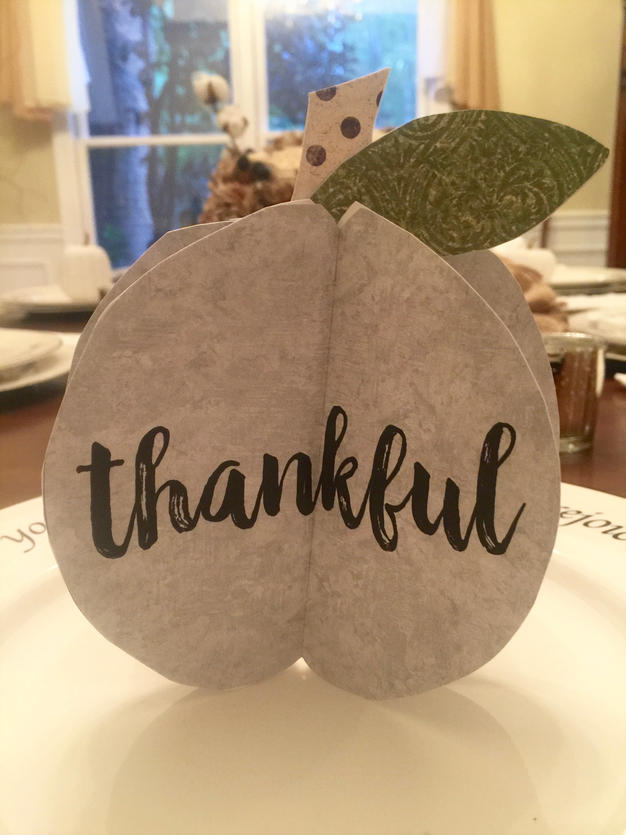
Now you can write your list of “thankfuls” and decorate the blank pages any way you wish!