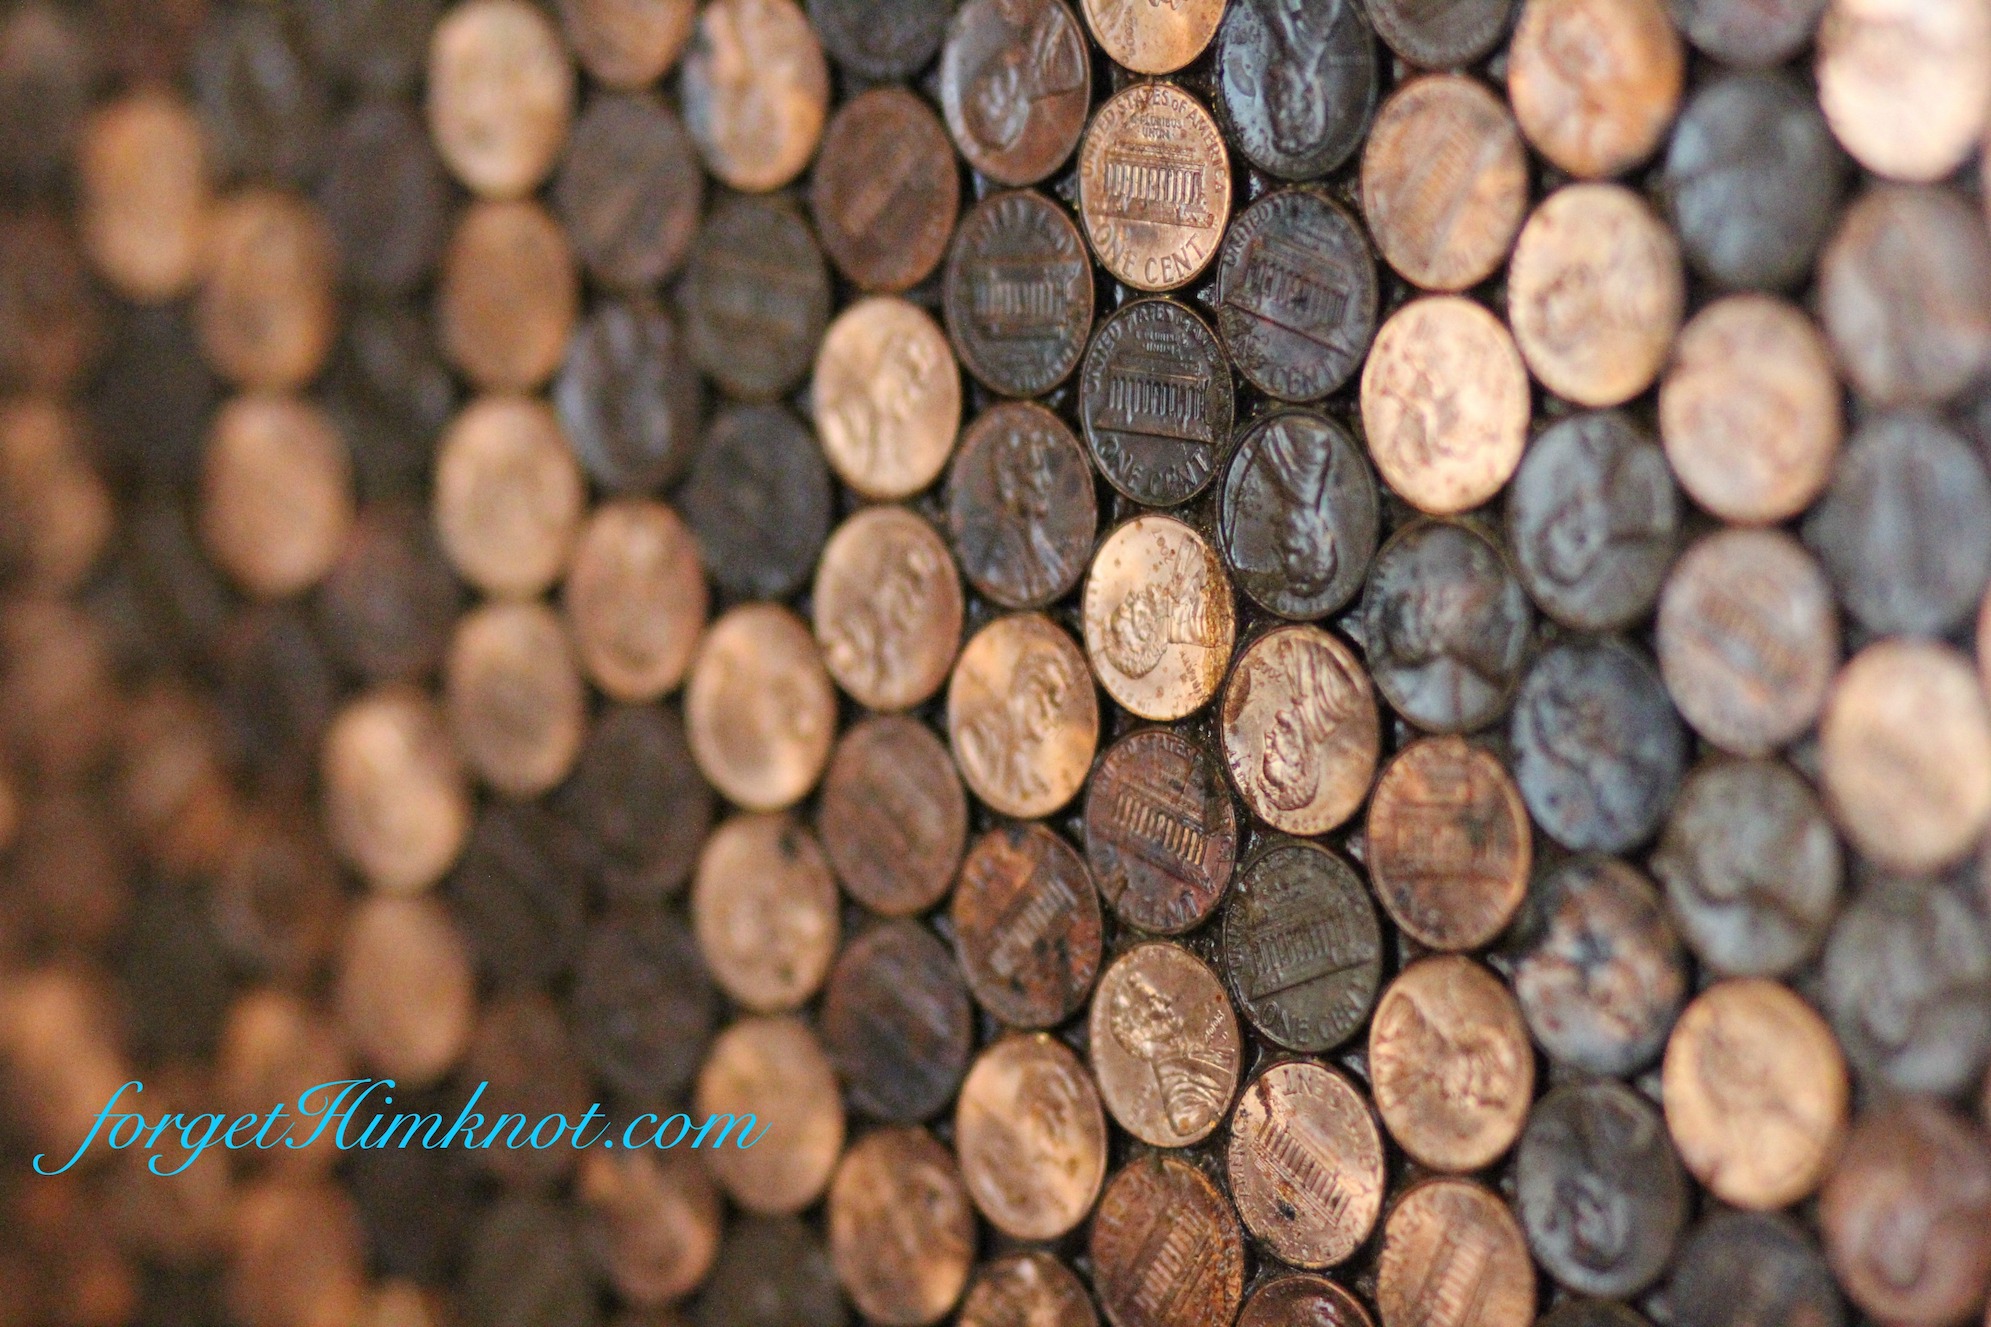
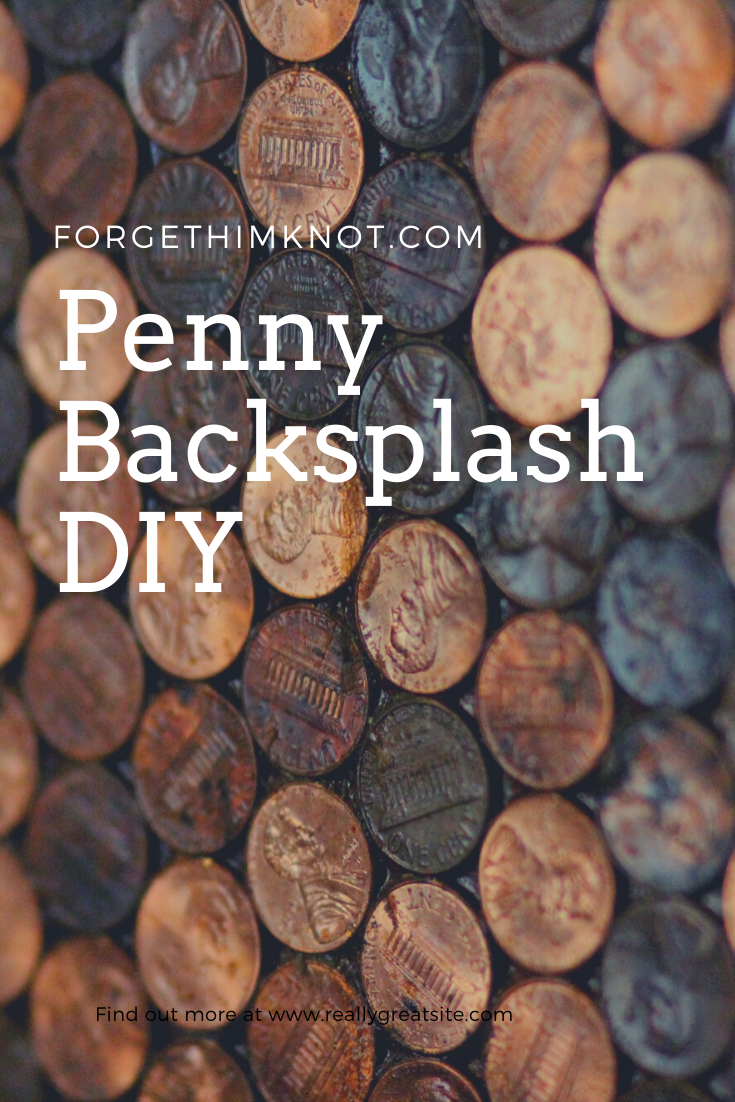
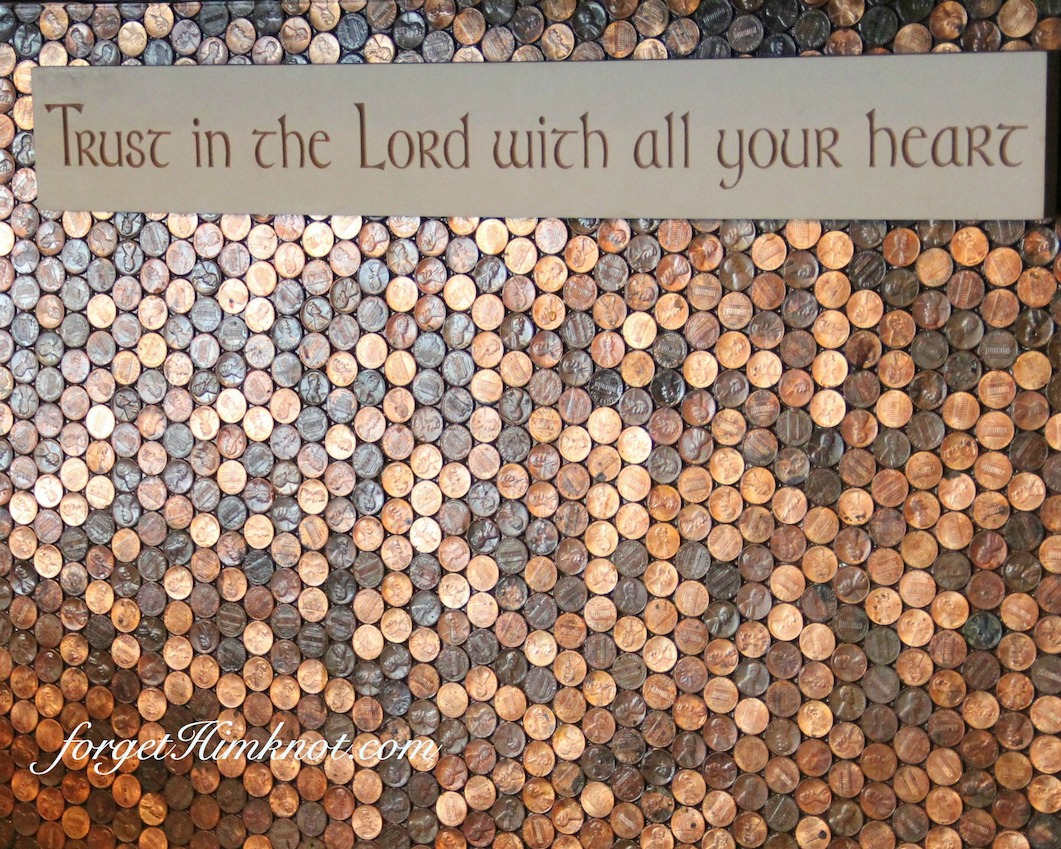
Here’s our 2 cents…. for an easy diy penny stove backsplash! Pennies are a beautiful medium of copper tones. They’re also a rather inexpensive way to a add a unique sparkle to your kitchen.
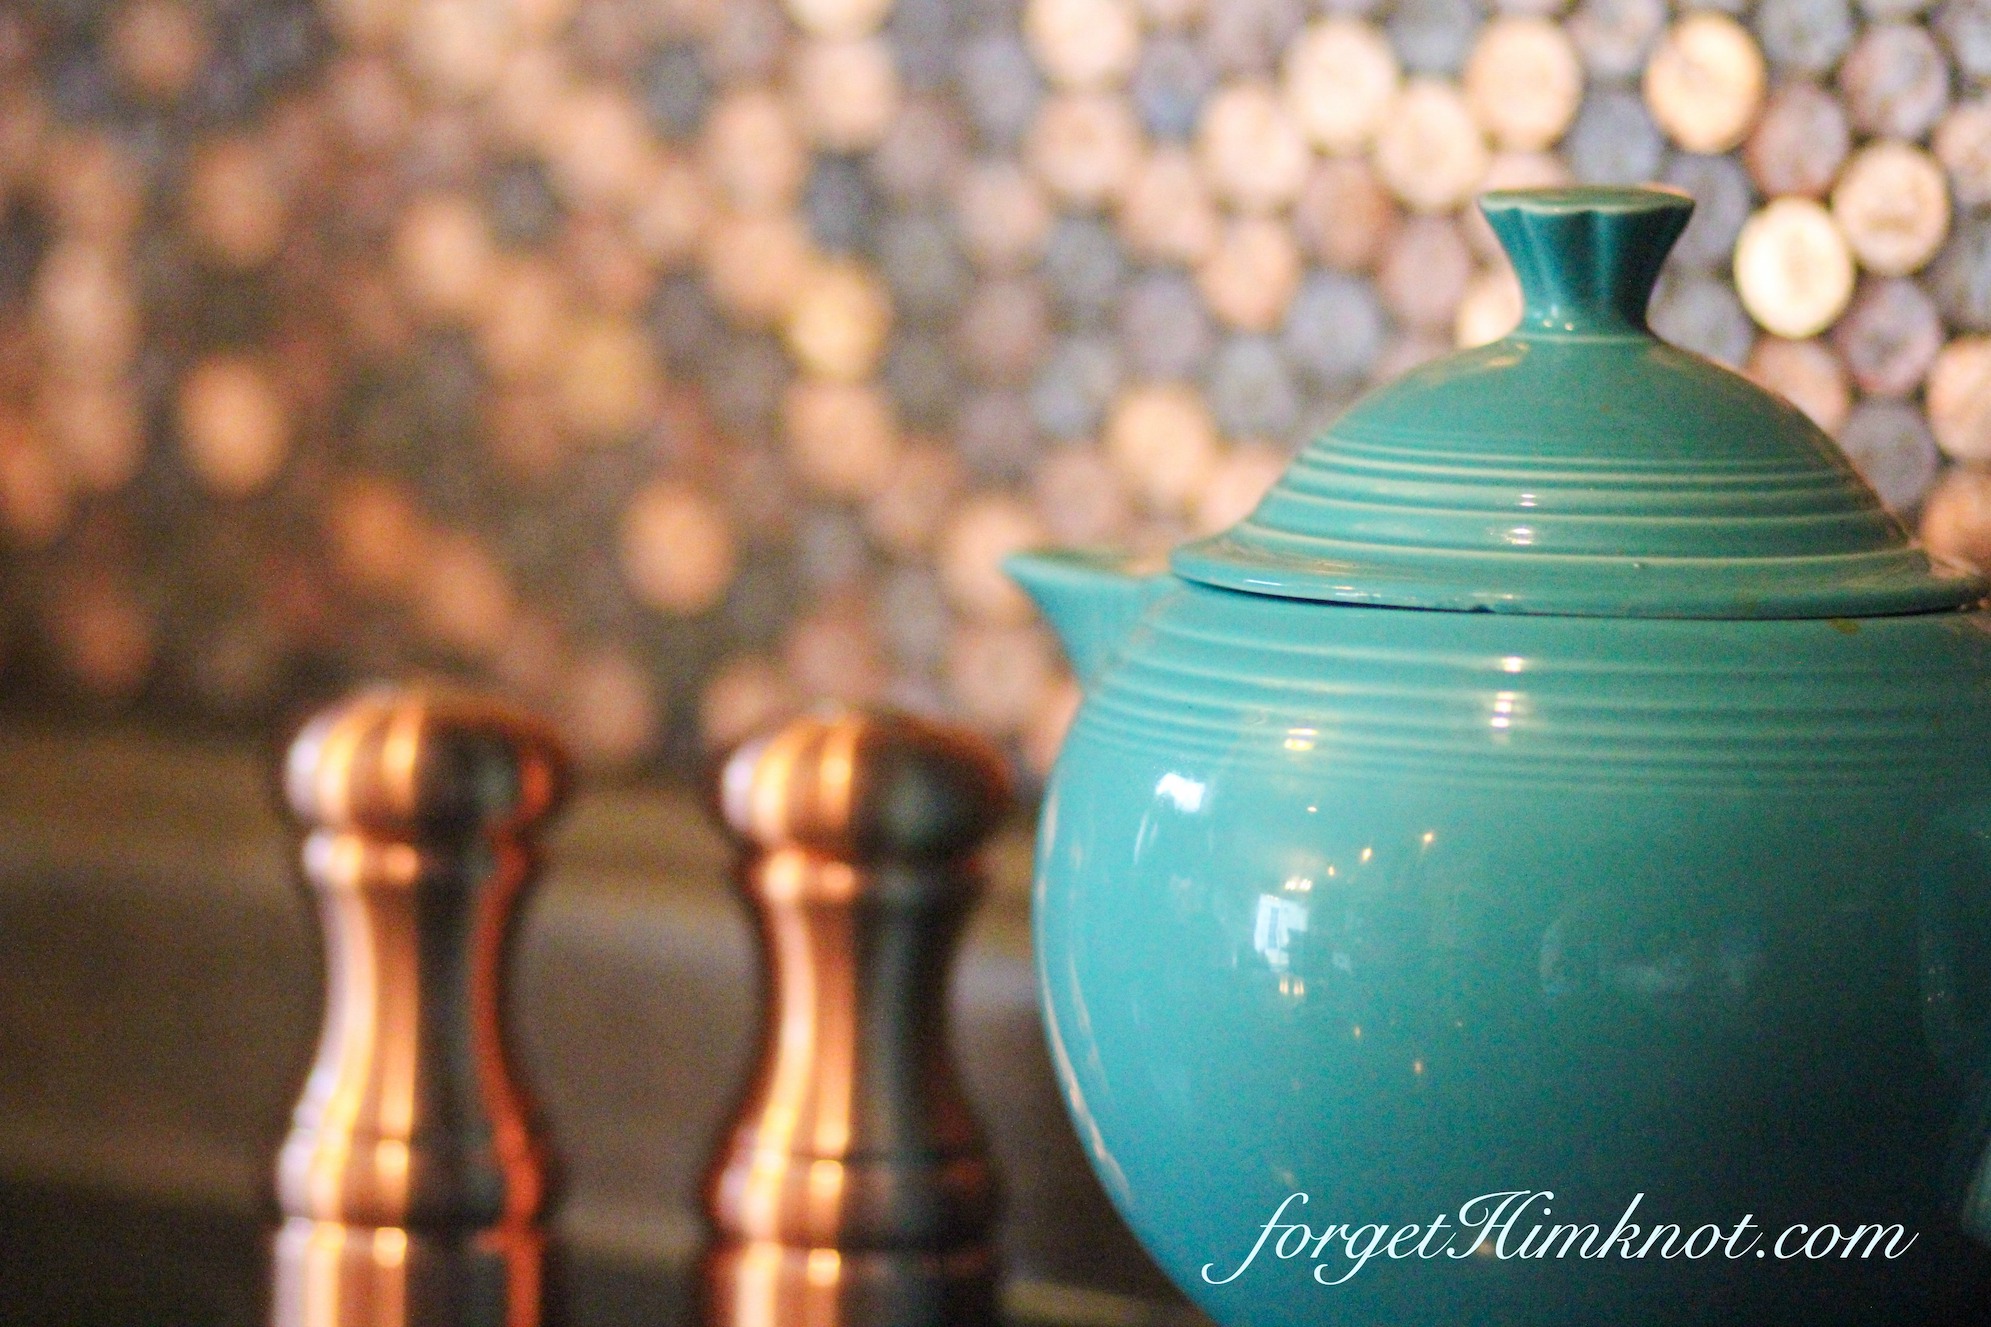
Pennies were the perfect match to our tile black splash. The stacked slate tiles were too thick to put behind the stove and allow for pots and pans. (no need for my family to comment here about how often this is a problem with the amount of cooking I do!)
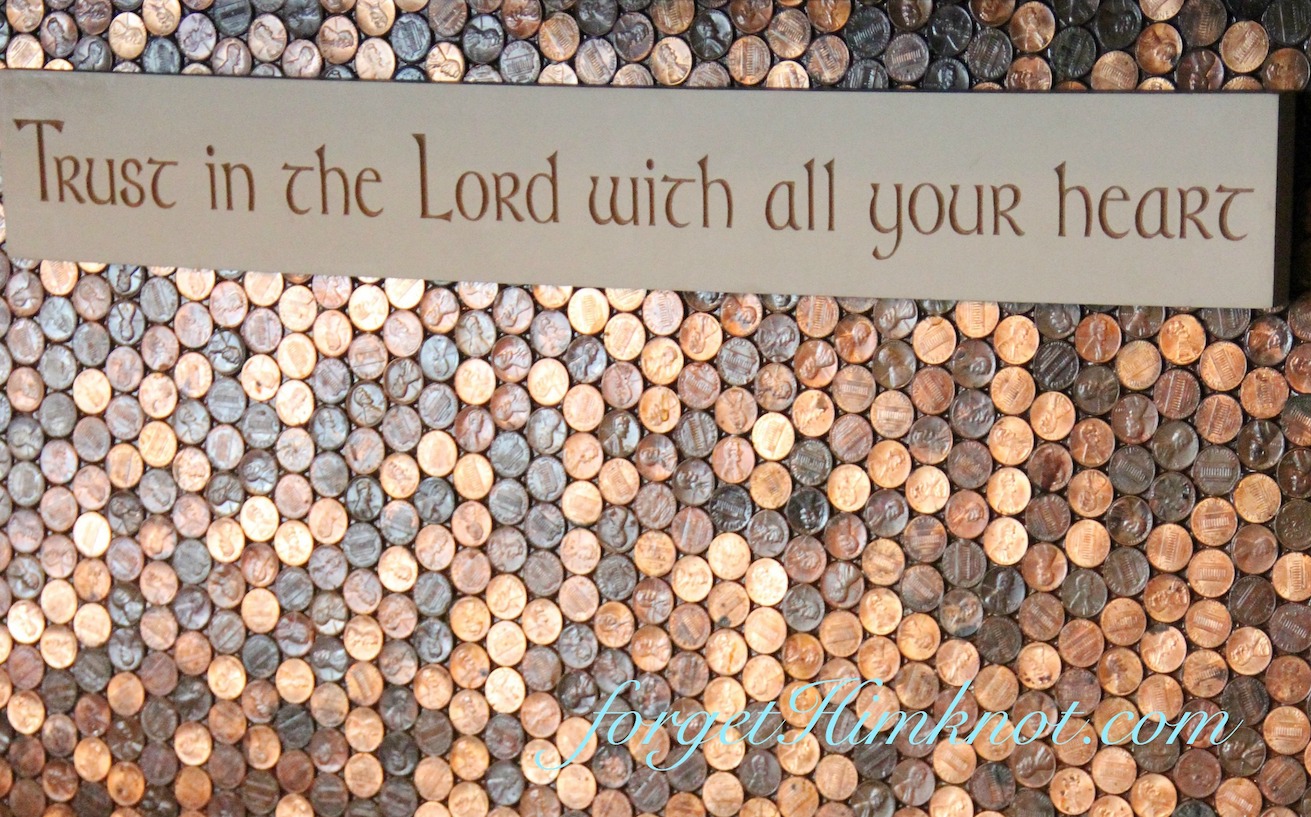
I have seen pennies for floors, back splashes, table tops and room decor and I’ve admired them all. Copper is just gorgeous! Pinterest is covered with bloggers and crafters giving their 2 cents about pennies.
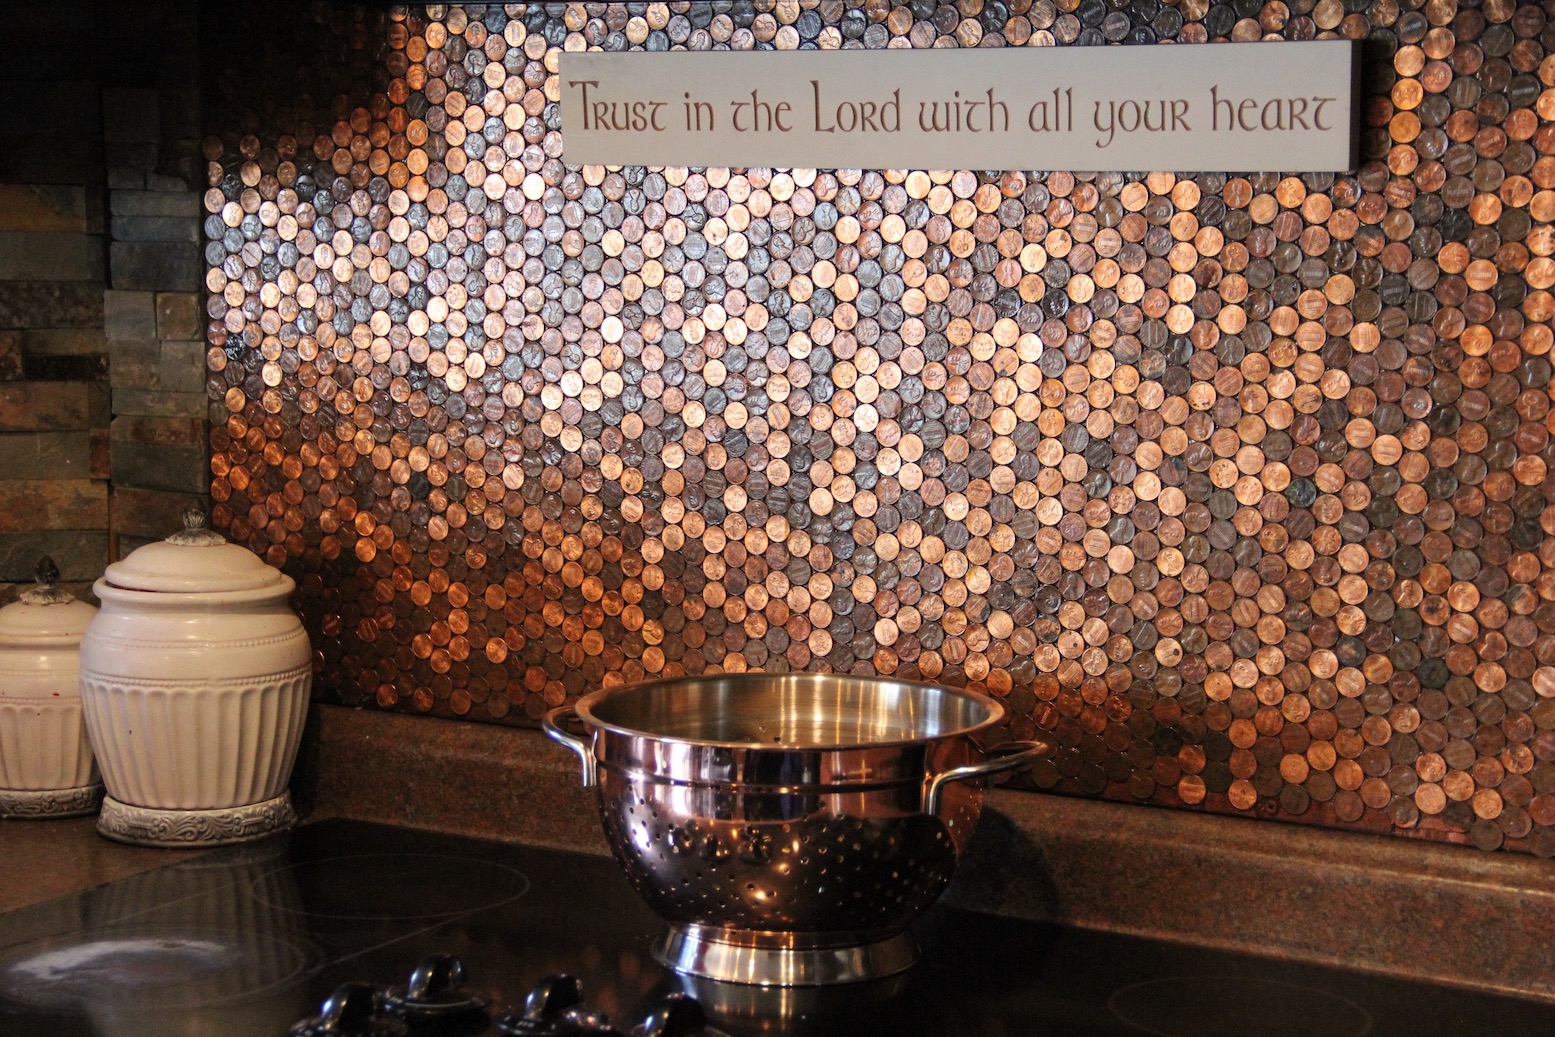
I decided to use pennies for an accent wall behind our stove top. Our back splash was previously painted sheetrock. Nothing wrong with that look, but it was just plain looking and lacking texture for me.
We tiled it with Anatolia Tile Oxide Ledgestone Wall Tiles from Lowes.
Step 1
Measure the area you want to cover with pennies. You can glue straight to the surface or make a detachable backsplash.
I cut a piece of luan to fit the space. Two things are accomplished by making the backsplash non-permenant… you can remove it when you are ready and the project can be taken to any workspace. Standing at the stove for hours and gluing did not appeal to me.
Step 2
Stain the luan with a warm color wood stain because the space between the pennies will show. Let this dry over night!
Step 3
Decide your penny pattern. (See *Decisions below)
Then with a metal to wood transparent adhesive ( E600 ) glue pennies one at a time. *affiliate link
( I realized after the first few rows that this would take a little longer than I had thought. Stick in your favorite movie/s and get lost in gluing.
Note:– Pennies are not a very big surface to apply glue to and hold at the same time. Unfortunately, I glued my fingers every other penny.
Remember to leave a penny space empty at the “attaching to your wall areas” to allow for screw holes. That’s where you will screw the luan to the wall.)
Step 4
Allow to dry.
Gravity has a tendency to take over if you try to install this backsplash before the glue dries.
Step 5
Clear coat the entire surface with 3 coats of polyurethane. This seals and protects the project. Poly makes it easy to wipe clean and keeps it shining.
Step 6
With a drill and screws, attach the luan to the wall.
Step 7
Apply pennies over the screws and touch up with poly.